This post may contain affiliate links. Please read our disclosure policy.
 I wish I could say, “I can’t remember the last time I baked bread!” because that would mean that I had in fact baked bread regularly in the past, which is just laughable. I mean, I have made bread before but never in my own home, so it doesn’t really count.
(For the record, I’m not counting quick breads like banana/corn/pumpkin here because those don’t require yeast, kneading, or other such intimidating and physically exhausting things.)
The last and only time I made bread was in culinary school during my one illustrious term of patisserie. (I “respectfully discontinued” my pastry studies after Level 1 because spending hours slaving/sweating over sugar roses and puff pastry made me mildly homicidal was not my strong suit.) I’m 99% sure there was a baguette lesson, but I can’t actually recall it (perhaps I played hooky to make out with my new hot piece Logan somewhere that day? #priorities), so the only bread I remember baking is brioche. Jesus Christ, it was a lot of work. There was so much kneading—we weren’t allowed to use the stand mixer at LCB—which I did not have the upper body strength for, and then we had to let our dough rest multiple times. Once overnight! I was characteristically impatient and anxious.
 My brioche turned out surprisingly well—I’m nothing if not a type-A student—and I proudly brought it back to my tiny Parisian apartment to share with my former (platonic) roommate, Bay. Unfortunately, Bay had a real job and was gone during the day, and I somehow managed to consume one soccer ball-sized brioche boule and approximately 18 buns over the next 36 hours. (It was so fresh and pillowy!!) I don’t know what else to say except quelle fucking horreur!
I have been too lazy and vain to bake brioche or any other bread since.
 Despite my love of scratch cooking, bread making has never really appealed to me. First of all, I’m not a huge bread person. I don’t eat all that much of it, and when I do, I outsource to the pros, aka local bakeries and Food For Life Baking Co. My point is, it would take a LOT to get me excited about baking my own bread, which is why I’d like to tip my hat to one Ms. Alexandra Stafford for achieving the near impossible.
I first met Ali a few years ago at Beyonce’s Dana Cowin’s potluck, and we became fast friends. I don’t get to see her enough as she lives upstate with a gaggle of freakishly attractive children, but it’s always a treat when I do because she is truly THE BEST. In addition to being an extremely knowledgeable and talented weird blog lady, she is also really nice. Like, genuinely nice. And using that word to describe someone feels like a total cop out, but she is. (It kinda freaks me out.) She’s also smart, funny, and a brilliant writer. Boom.
So, when Ali sent me a copy of her newly released book Bread, Toast, Crumbs: Recipes for No-Knead Loaves & Meals to Savor Every Slice, I was obviously thrilled for her and wanted to help spread the word, but I wasn’t suuuuuper psyched to have to bake bread for all the aforementioned reasons. #briochegate PTSD is real.
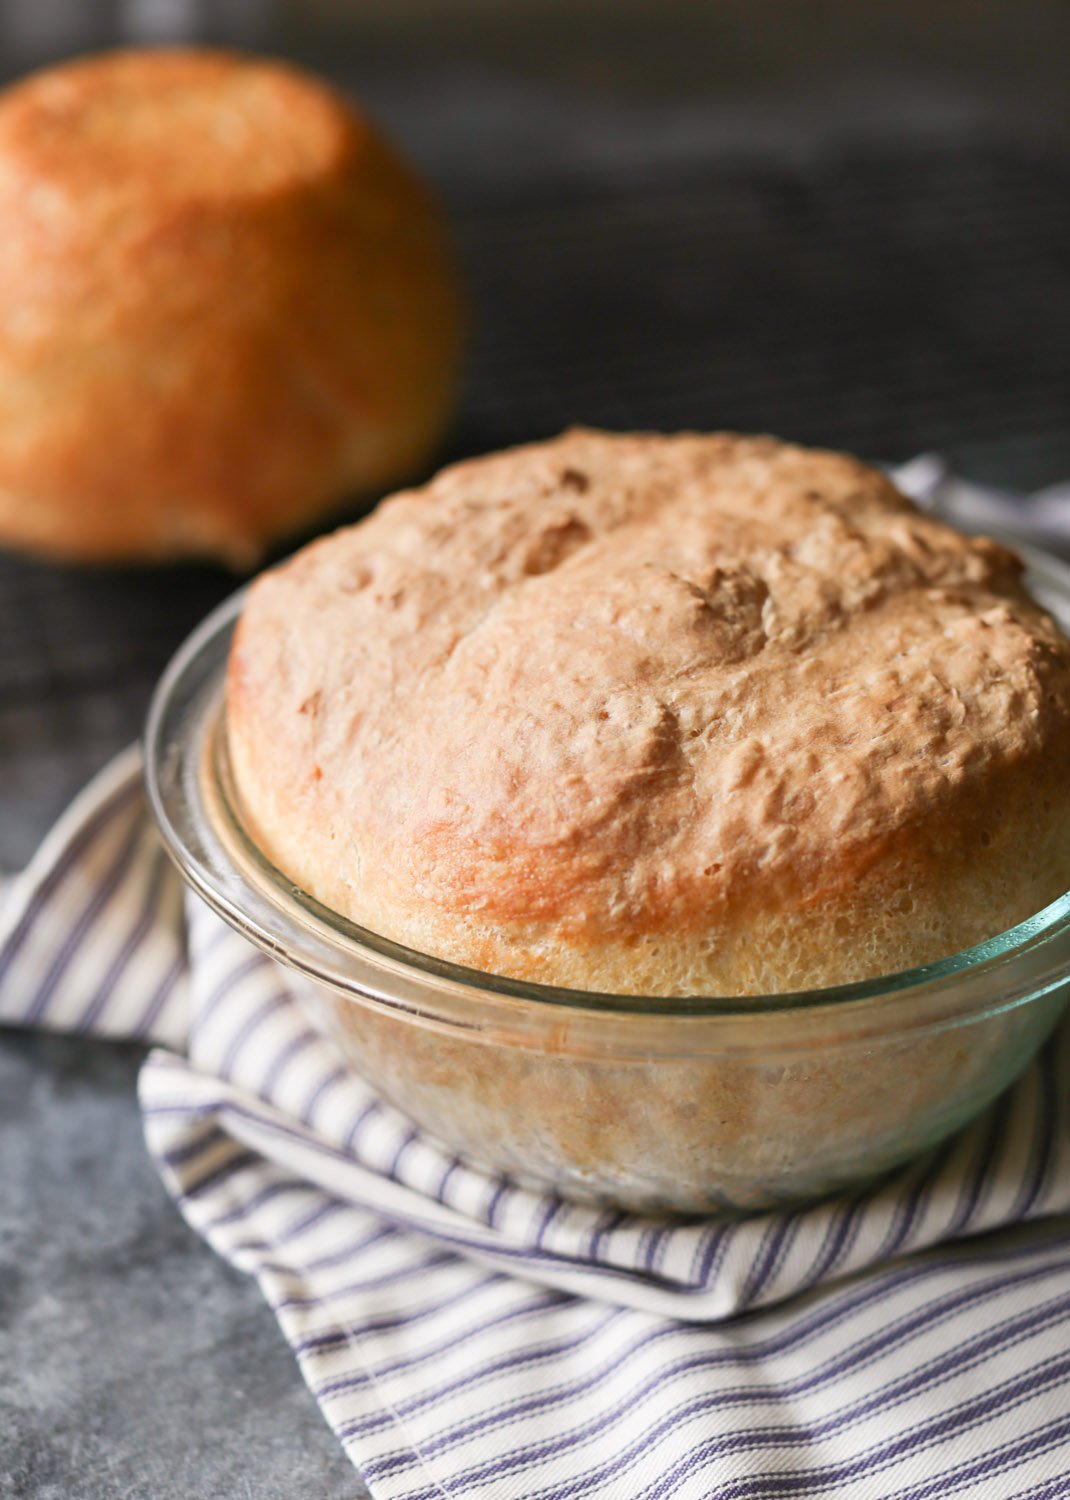
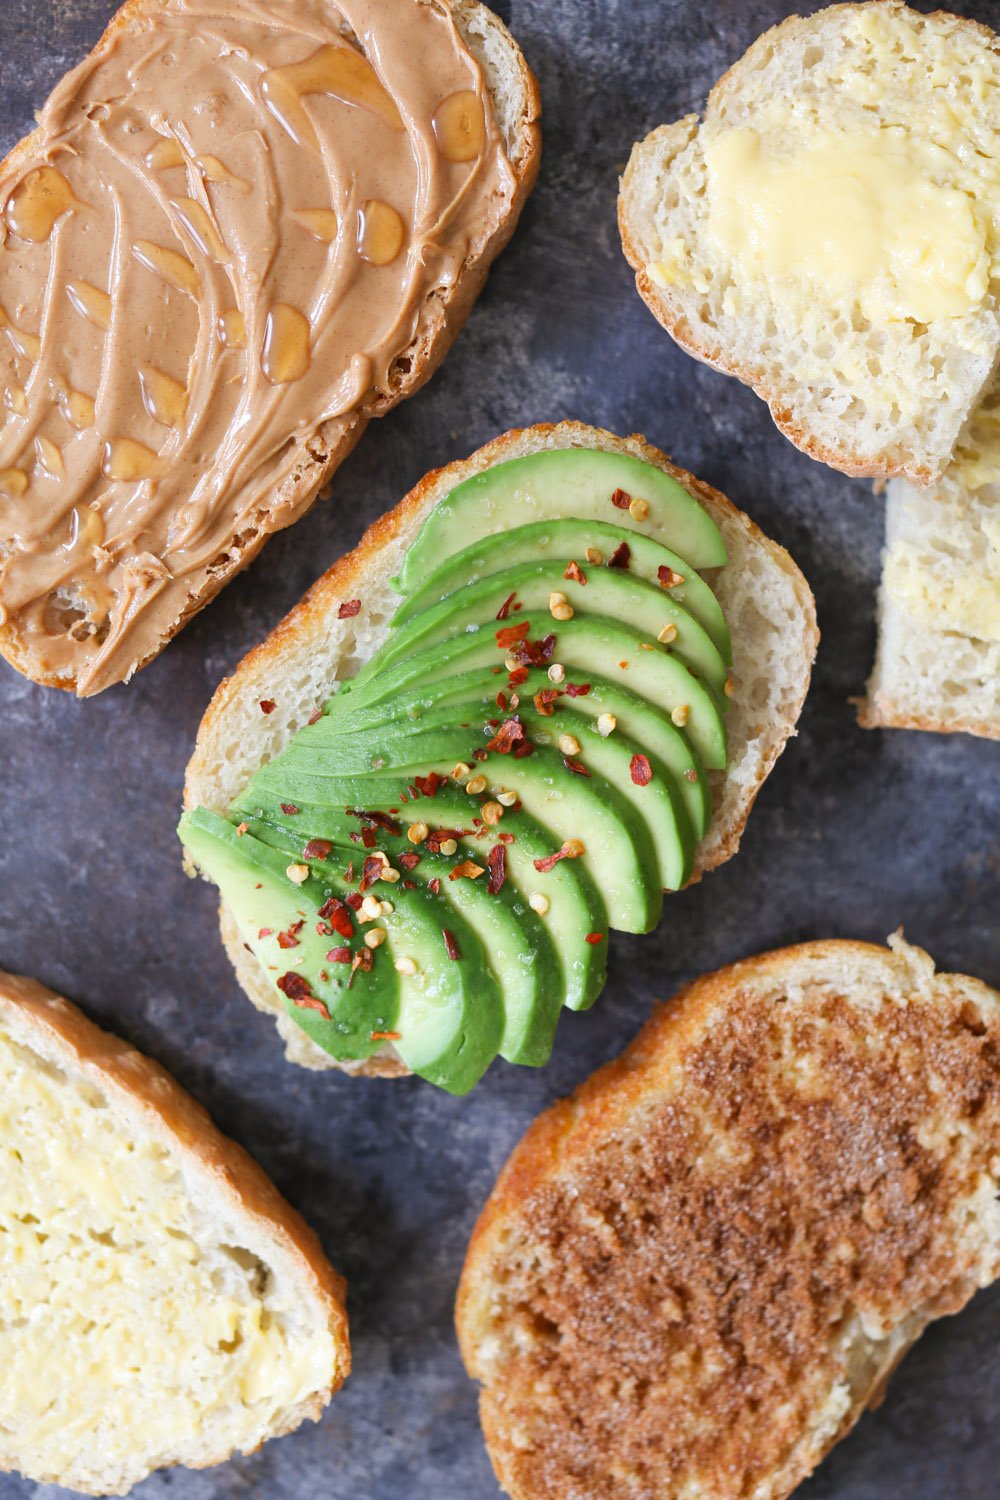
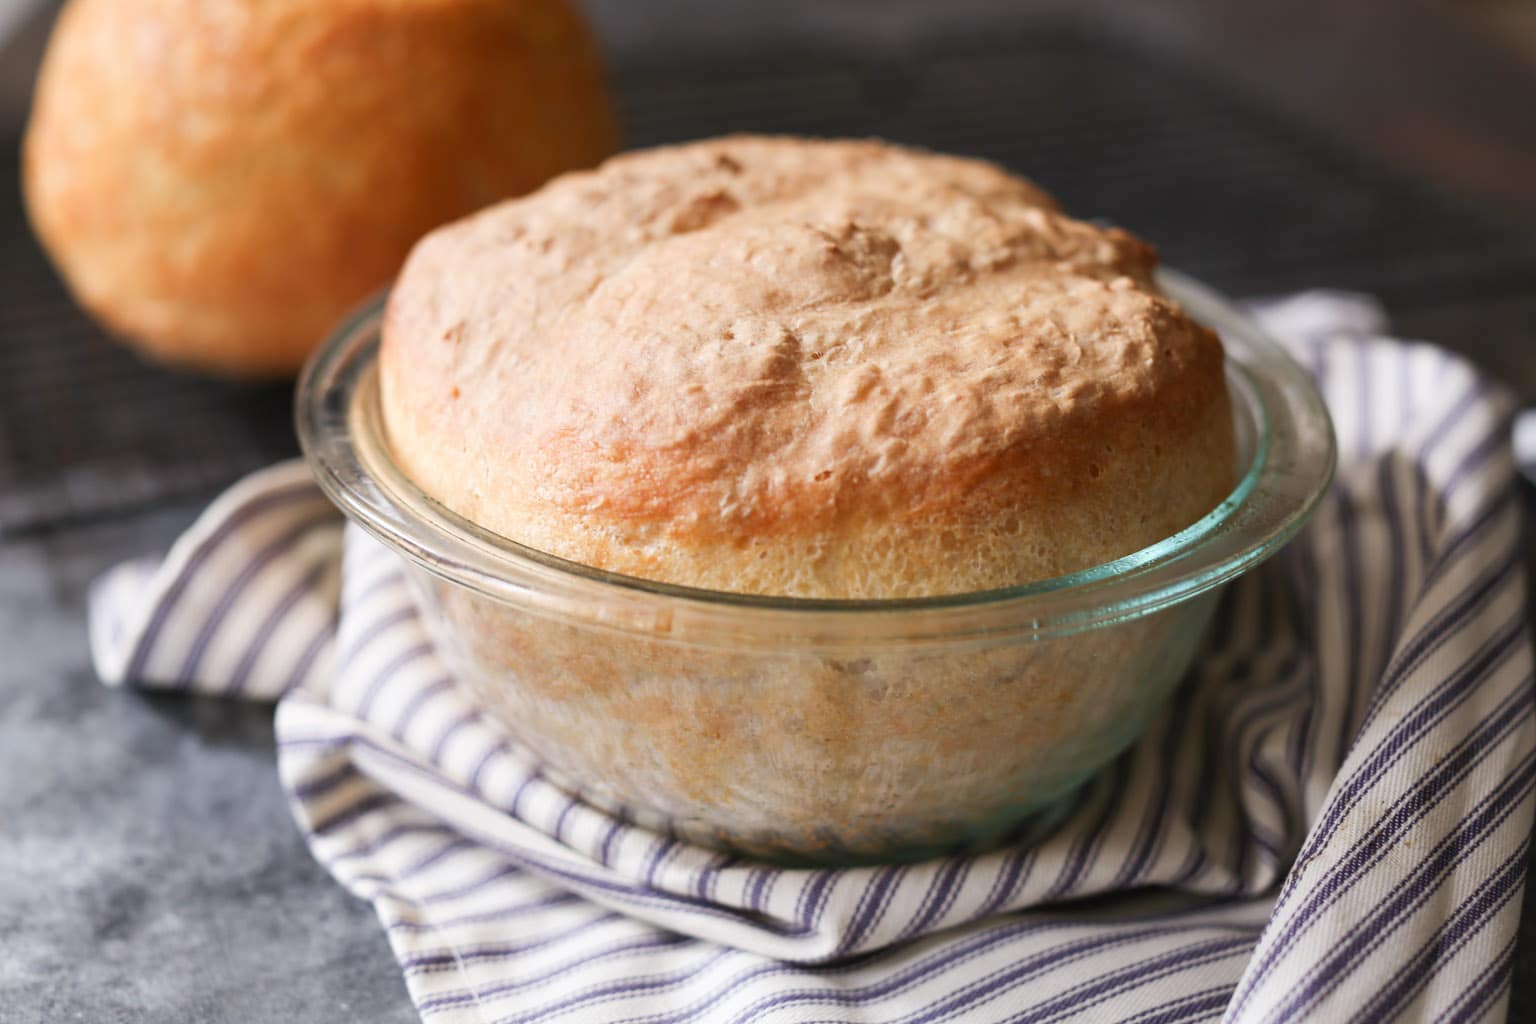
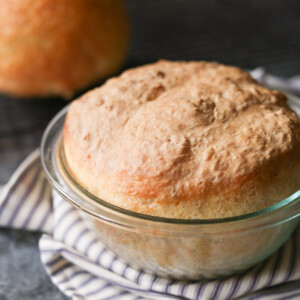
 Then I opened the book and started reading. All of BTC is centered around one simple and perfect peasant bread recipe passed down to Ali by her mother. The bread is made with just flour, instant yeast, sugar, water and salt, and you bake it in buttered Pyrex bowls. It requires zero kneading and just two short rises. There are endless flavor and form variations on this recipe (quinoa and flax; oatmeal maple; cornmeal, jalapeño jack; cinnamon sugar monkey bread!!!, etc.), as well as recipes for how to use the bread (think uber creative toasts and sandwiches like skillet peasant pizza and bacon, cheddar and onion jam panini), and ways to use up every last crumb (panzanella! mustard roasted chicken with lemon-thyme breadcrumbs!).
Half an hour later, I was practically running to Westside Market for instant yeast. Ali made bread making look and sound so fun and doable—I really felt like I could crush the task. And I did!!
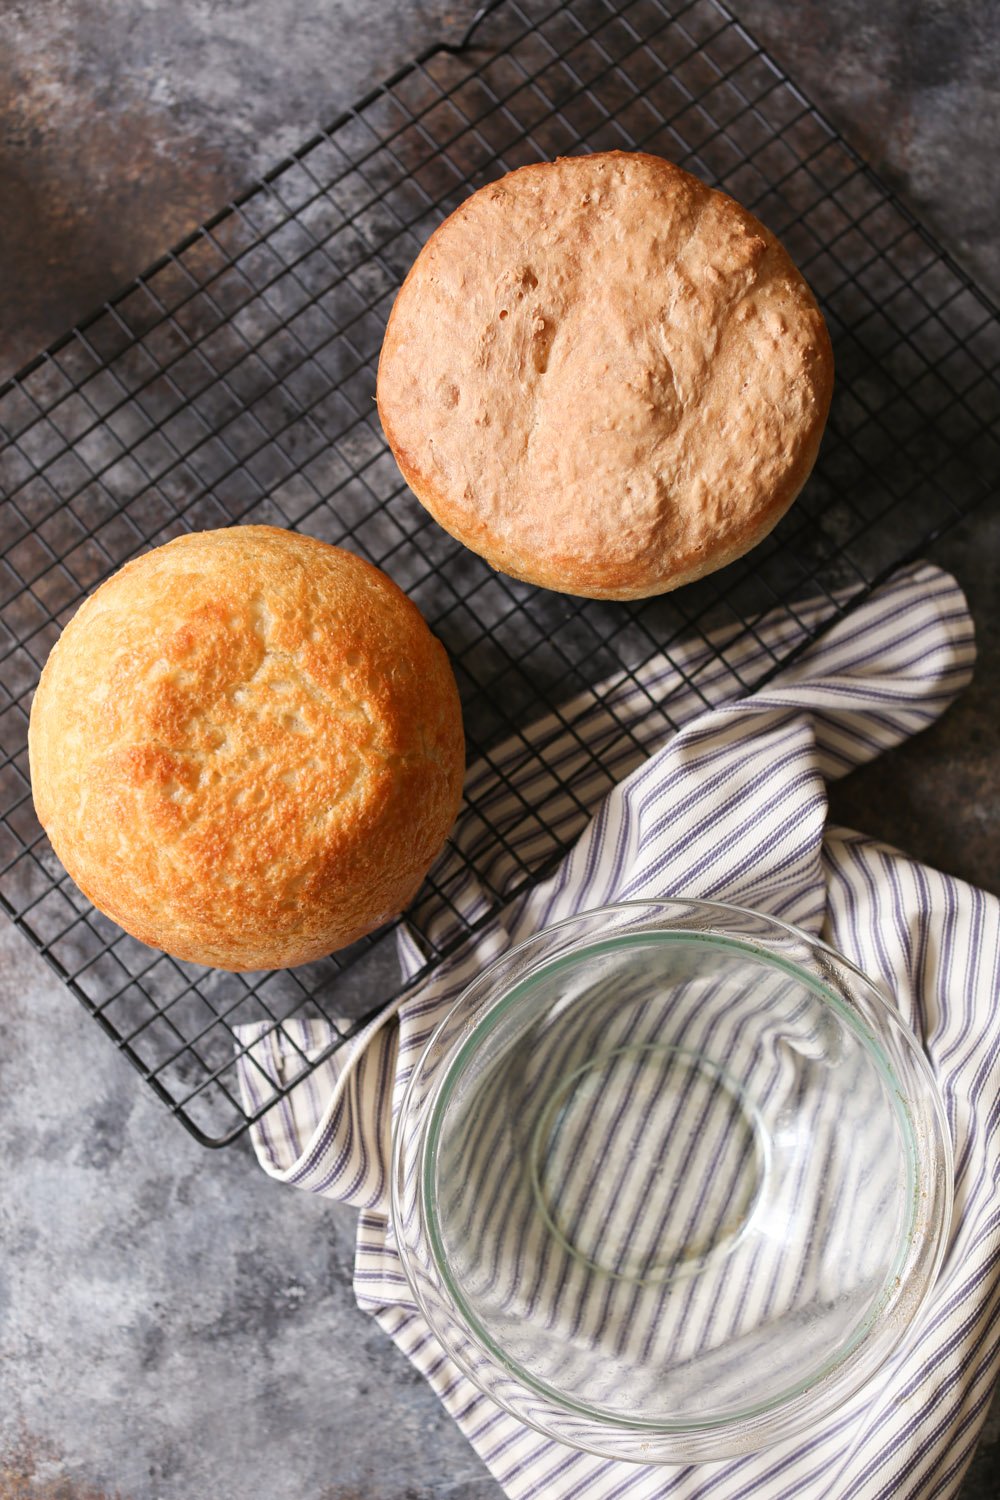
 My first peasant bread loaves turned out perfectly thanks to Ali’s foolproof instructions. She’s like a bread-baking fairy godmother, whispering tips and tricks in your ear to help you avoid every possible pitfall, including how to get perfect lukewarm water (1 part boiling water to 3 parts cold water) and how to create a warm environment for your dough to rise (turn the oven on to 400 degrees, let it heat for 1 minute, then turn it off).
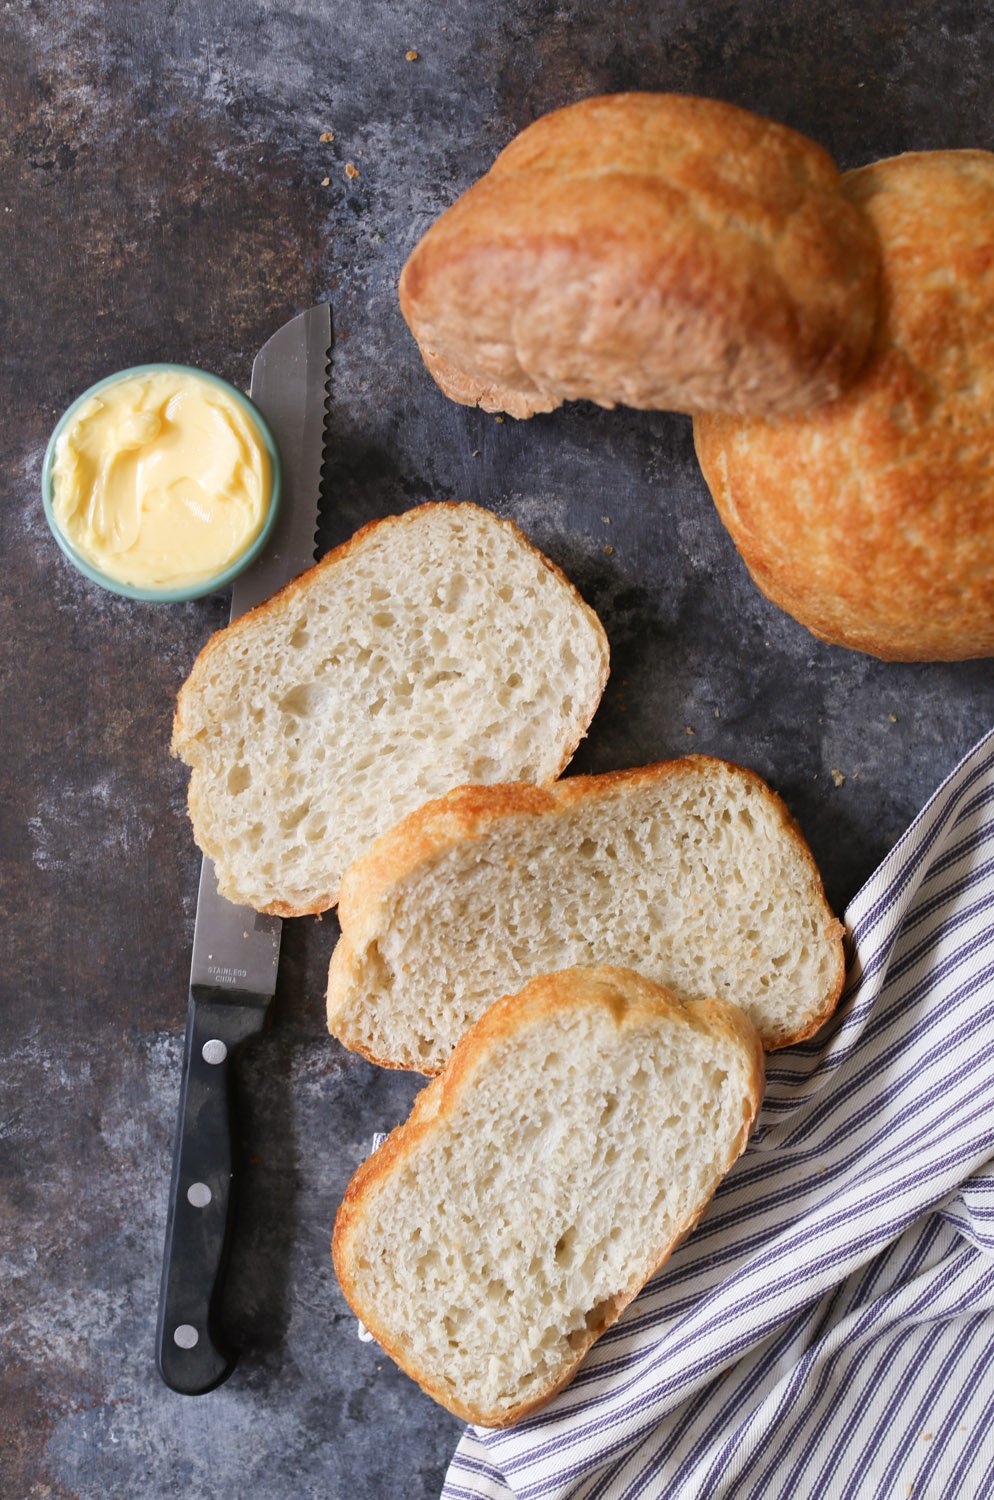
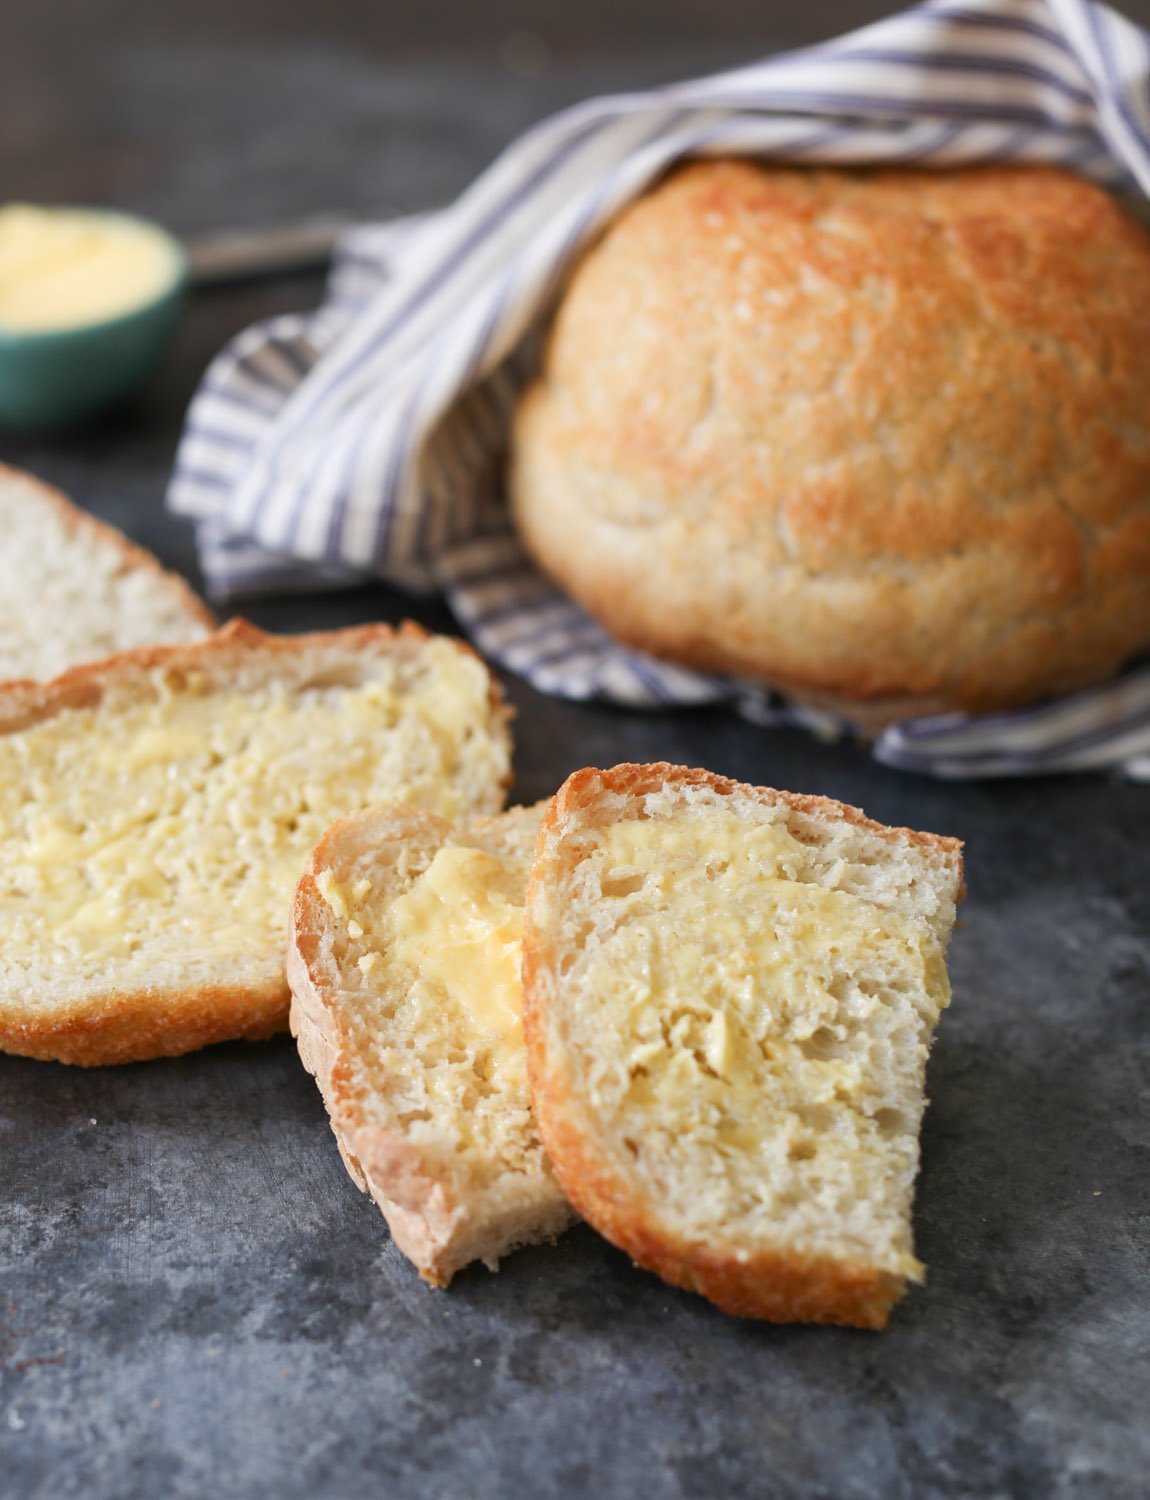
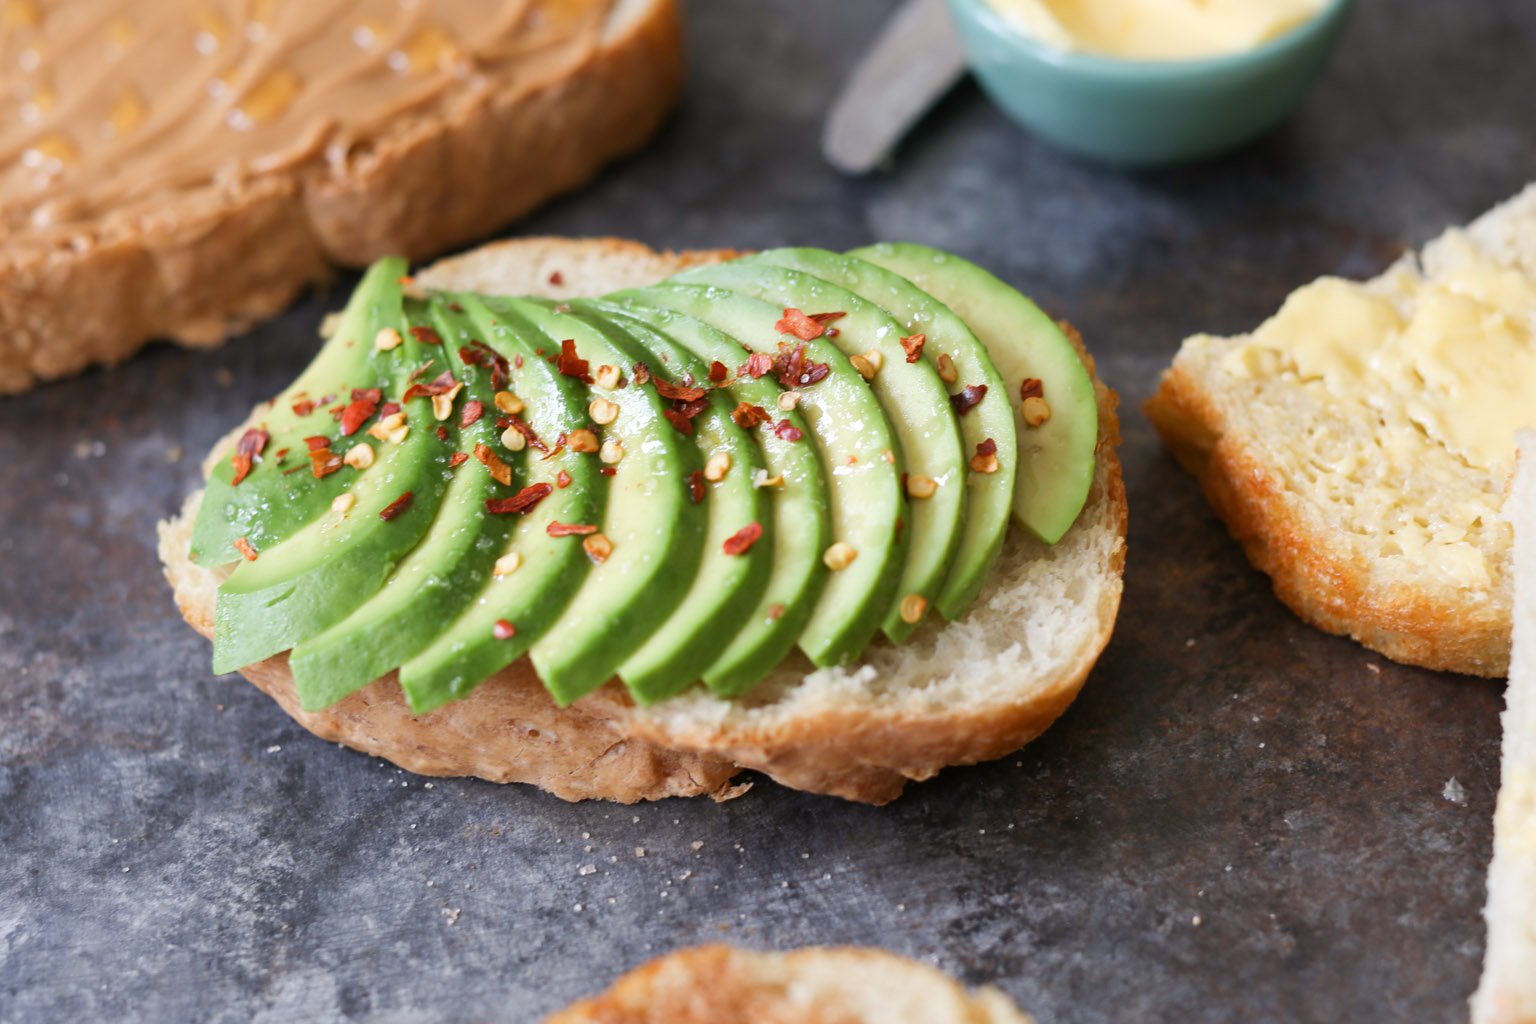
The golden outside was so crispy and buttery I wanted to cry, and the inside was addictively spongy and tender. I inhaled one piece warm and HOT DAMN, my mind was completely blown. Don’t even get me started on the avocado toast I made the next day…
I now have grand aspirations to bake Ali’s peasant bread on the reg and serve it at all future parties because a.) I want everyone I know to experience the magic, and b.) compliments. I really hope you’ll give it a try too.
p.s. Each of the bread recipes in Ali’s book makes 2 loaves so you can #bakeitforward and share one with someone you love. Did I mention she’s really nice?
Perfect Peasant Bread: (Makes two 14-ounce loaves)
 Ingredients:
4 cups (512 g) unbleached all-purpose flour
2 teaspoons kosher salt
2 teaspoons sugar
2¼ teaspoons instant yeast
2 cups lukewarm water (Mix ½ cup boiling water with 1½ cups cold water.)
Softened unsalted butter, for greasing
Preparing your Perfect Peasant Bread:
-In a large bowl, whisk together the flour, salt, sugar, and instant yeast. Add the water. Using a rubber spatula, mix until the water is absorbed and the ingredients for a sticky dough ball.
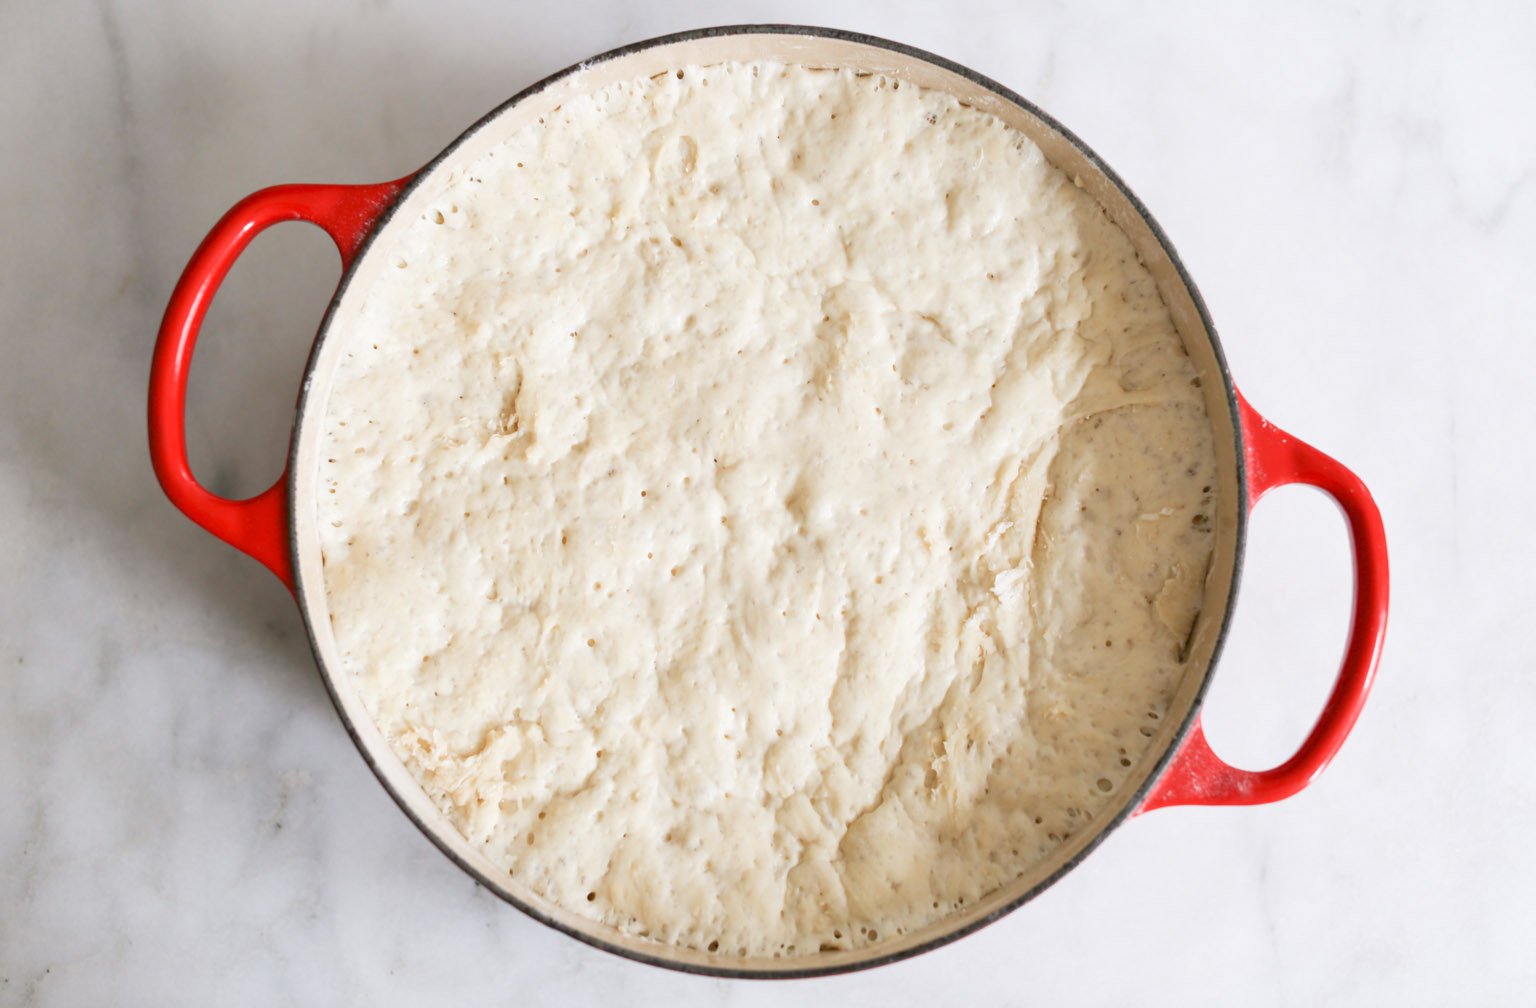
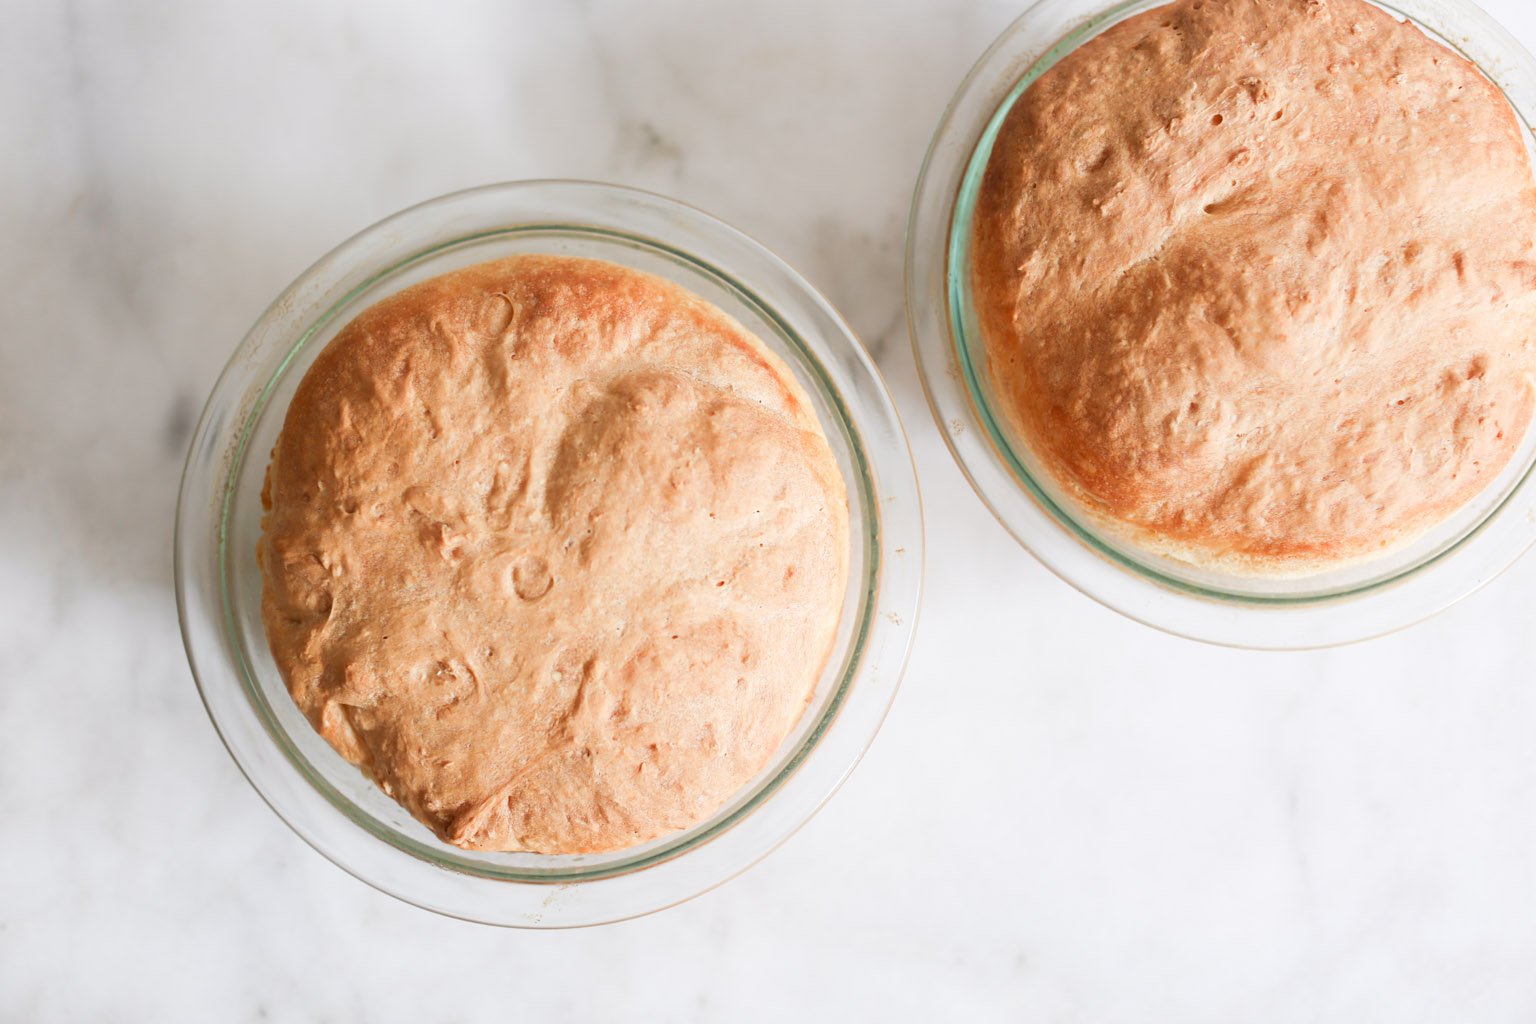
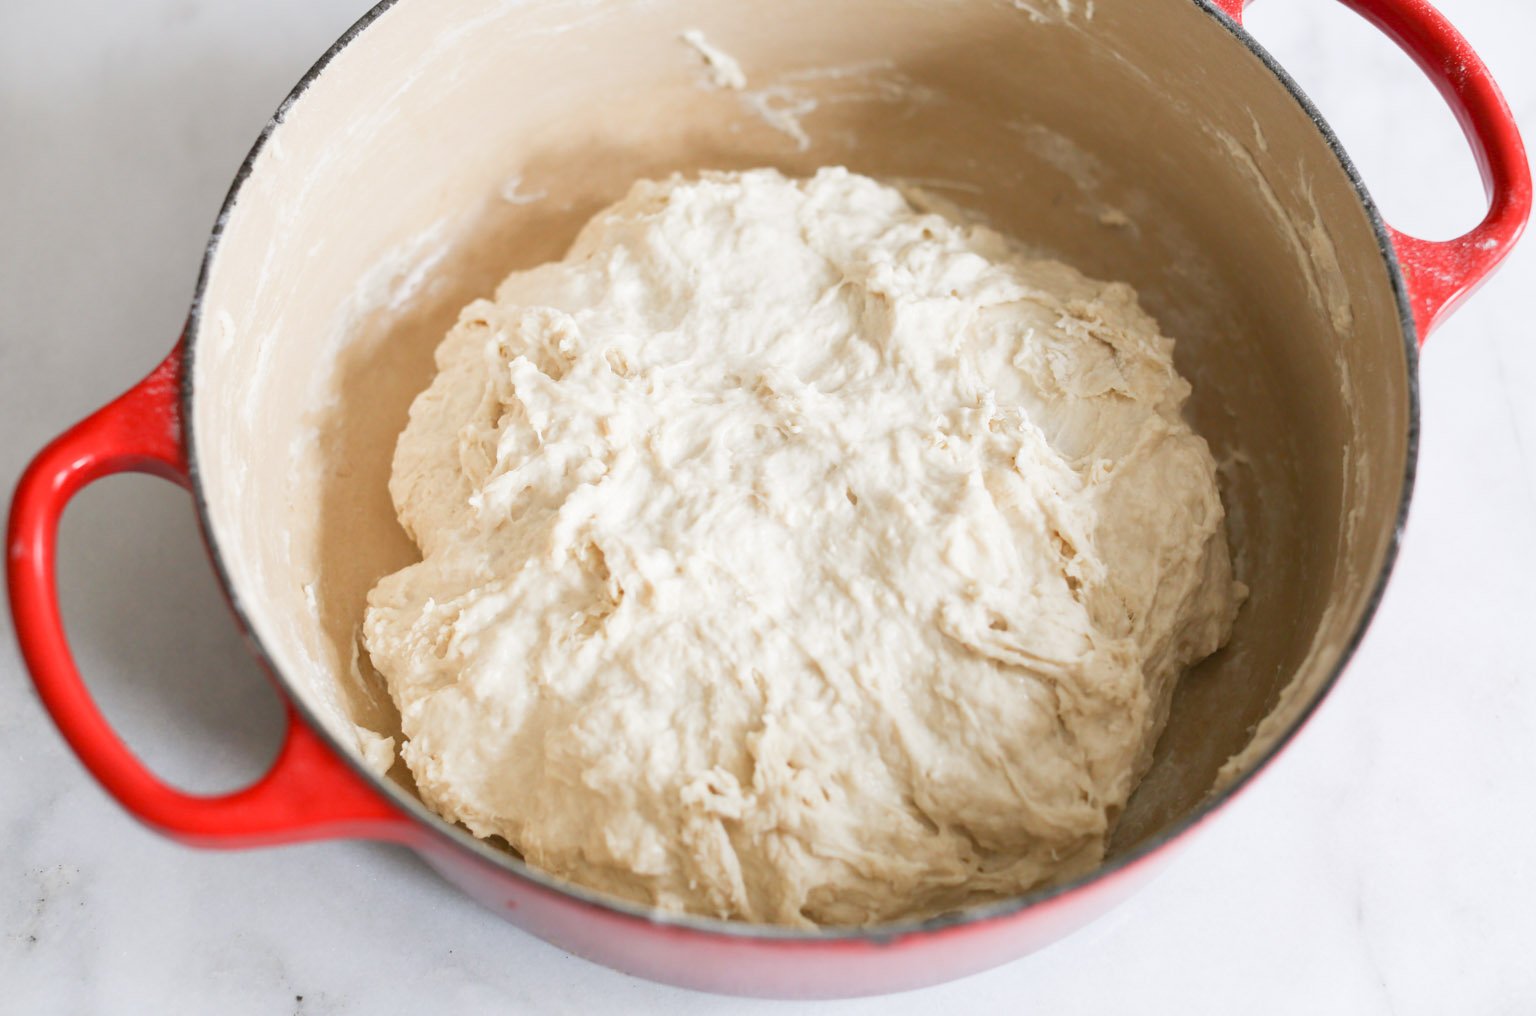 -Cover the bowl with a damp tea towel or plastic wrap and set aside in a warm spot to rise for 1 to 1½ hours, until the dough has doubled in bulk.
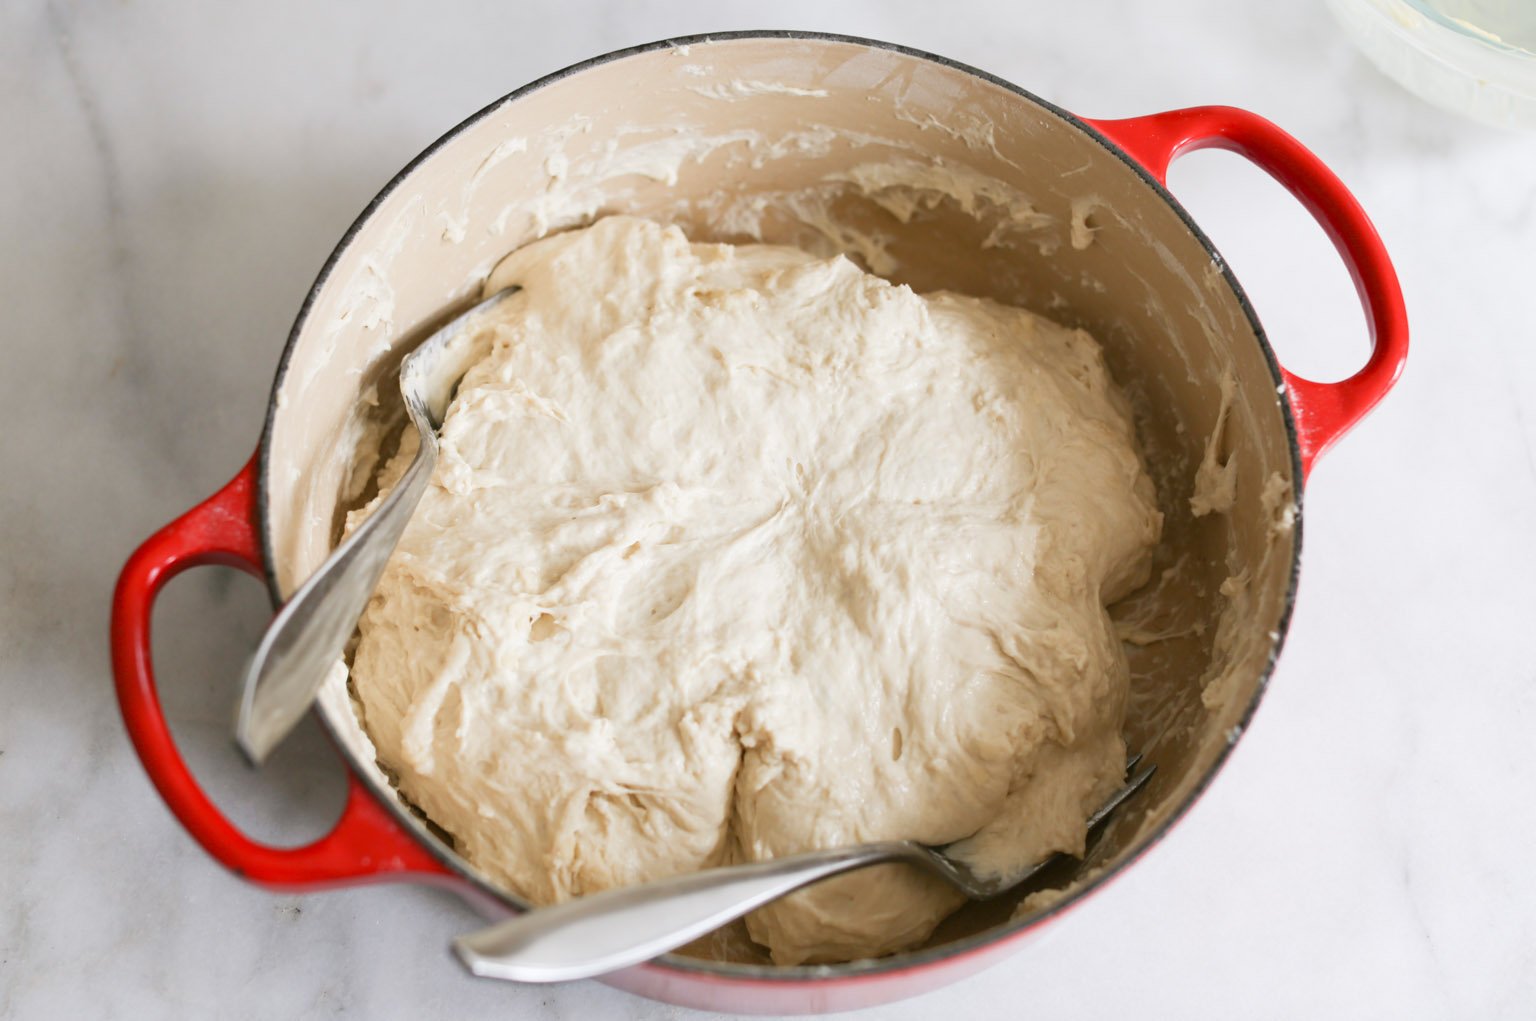
 -Set a rack in the middle of the oven and preheat it to 425 degrees. Grease two 1-quart oven-safe bowls with the softened butter—be generous. Using two forks, deflate the dough by releasing it from the sides of the bowl and pulling it toward the center. Rotate the bowl quarter turns as you deflate, turning the mass into a rough ball.
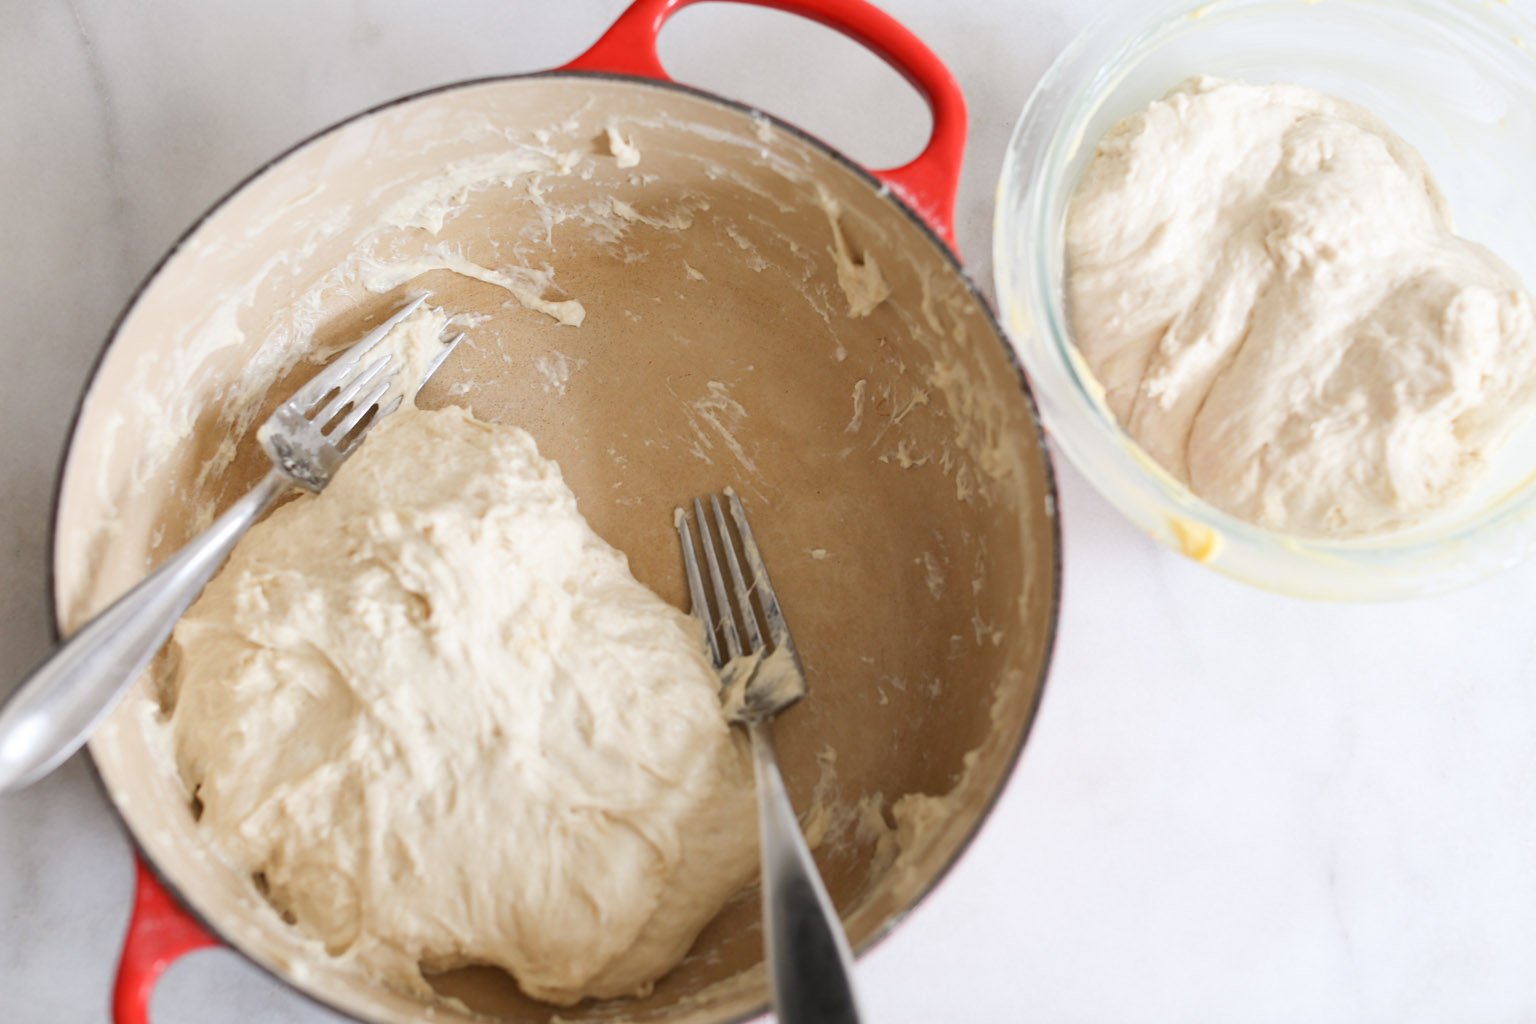
 -Using your two forks and working from the center out, separate the dough into two equal pieces. Use the forks to lift each half of the dough into a prepared bowl. If the dough is too wet to transfer with forks, lightly grease your hands with butter or oil, then transfer each half to a bowl. Do not cover the bowls.
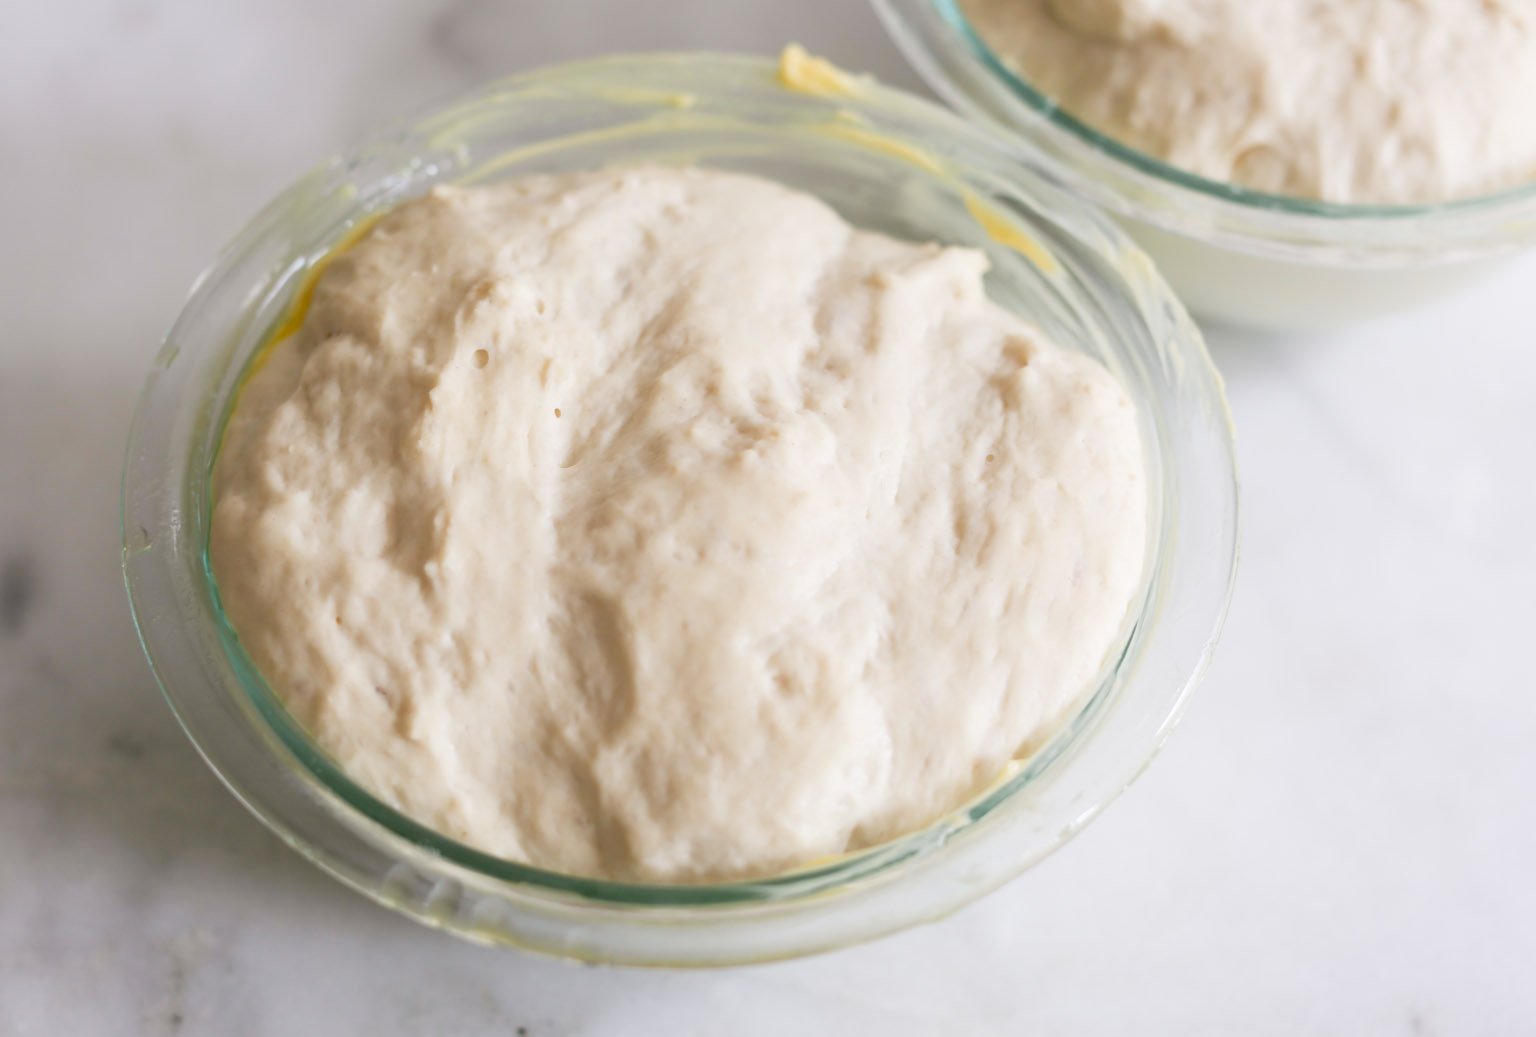
 -Let the dough rise on the countertop near the oven (or another warm, draft-free spot) for 10 to 20 minutes, until the top of the dough just crowns the rims of the bowls.
 -Transfer the bowls to the oven and bake for 15 minutes. Reduce the heat to 375 degrees and bake for 17 to 20 minutes more, until evenly golden all around.
 -Remove the bowls from the oven and turn the peasant bread loaves out onto cooling racks. If the loaves look pale, return them to their bowls and bake for 5 minutes longer. Let the loaves cool for 15 minutes before slicing. Top as you see fit…
The Best Peasant Bread
Ingredients
- 4 cups 512 g unbleached all-purpose flour
- 2 teaspoons kosher salt
- 2 teaspoons sugar
- 2¼ teaspoons instant yeast
- 2 cups lukewarm water, Mix ½ cup boiling water with 1½ cups cold water.
- Softened unsalted butter, for greasing
Instructions
- In a large bowl, whisk together the flour, salt, sugar, and instant yeast. Add the water. Using a rubber spatula, mix until the water is absorbed and the ingredients for a sticky dough ball.
- Cover the bowl with a damp tea towel or plastic wrap and set aside in a warm spot to rise for 1 to 1½ hours, until the dough has doubled in bulk.
- Set a rack in the middle of the oven and preheat it to 425 degrees. Grease two 1-quart oven-safe bowls with the softened butter—be generous. Using two forks, deflate the dough by releasing it from the sides of the bowl and pulling it toward the center. Rotate the bowl quarter turns as you deflate, turning the mass into a rough ball.
- Using your two forks and working from the center out, separate the dough into two equal pieces. Use the forks to lift each half of the dough into a prepared bowl. If the dough is too wet to transfer with forks, lightly grease your hands with butter or oil, then transfer each half to a bowl. Do not cover the bowls. Let the dough rise on the countertop near the oven (or another warm, draft-free spot) for 10 to 20 minutes, until the top of the dough just crowns the rims of the bowls.
- Transfer the bowls to the oven and bake for 15 minutes. Reduce the heat to 375 degrees and bake for 17 to 20 minutes more, until evenly golden all around. Remove the bowls from the oven and turn the loaves out onto cooling racks. If the loaves look pale, return them to their bowls and bake for 5 minutes longer. Let the loaves cool for 15 minutes before cutting.
Notes
Like this? Leave a comment below!


trying this today easy enough just hope it turns out not good at making bread
I’ve baked this bread twice now and love it!!
Only I’ve just moved and can’t find my glass bowls 🥲 so I’ll be using loaf pans. Not quite the same effect but it will stay taste marvellous!
Your recipe is very amazing, your content is excellent, thanks.
I don’t have glass bowls that size for rising and baking. Do you think these would work okay in a loaf pan?
Yes. Just bake it for 45 minutes at 375°. A 9×5 loaf pan will accommodate about 3/4 of the dough. If you make 1 1/2 x the recipe, you’ll have enough for 2 loaf pans.
I’ve actually always enjoyed baking bread – the kind that requires kneading, but I rarely eat bread anymore. (When you live on the border with Mexico, somehow you end up eating a lot of tortillas – which I tend to like better.) But this bread sounds great, as does the cookbook. So next time I need bread, I’ll have to try this, especially if I can find another pyrex bowl (and room to store it).
I have the utmost respect for bread bakers the world over (I feel like you’d enjoy Ali’s cookbook so much), but I think I’d take a tortilla over bread any day ;).
Serena, you are such a riot. Oh my goodness … LOVE YOU!!! Thank you for all of this. Your bread is gorgeous. Your avocado toast a triumph. Hope to see you soon! Maybe for wine… you’ll soon see I’m not so nice 🙂 🙂 🙂
I’ve been making this recipe from Alexandra for YEARS. So many years. I’ve never had one turn out poorly. It’s foolproof!
AHHH love to hear that! Ali is a genius!!
My daughter sent me this recipe and I tried it and fell in love with it ! My friends and family also wanted the recipe. Thank you so much !
I love love love the idea of baking my own bread but the key word is idea. i have made challah and few bread with yeast and im open to the idea but i hate the wait time. peasant bread sounds pretty doable and i love step by step tips & tricks!
HAHAH girl, I feel you!! You should definitely take this peasant bread for a spin–it’s so validating to successfully clear the bread making hurdle…