How to Make the BEST Cauliflower Pizza Crust
This post may contain affiliate links. Read about my affiliate policy.
I set out to make “The Best Cauliflower Crust Pizza. EVER.” It wasn’t exactly a walk in the park, but a couple heads of cauliflower later, I finally ended up with one seriously badass cauliflower pizza dough crust. It’s perfectly crispy, and way better than any store-bought version.
As a small child, my pizza fetish (coupled with my grilled cheese addiction) led to such high cholesterol levels that my pediatrician actually forced my parents to limit my consumption. In order to avoid a very tiny grave, I was only allowed to eat pizza every other week for an entire year. Needless to say, 1993 sucked.
For the record, my cholesterol levels are now perfect (thank you very much), and pizza remains my favorite food. When it comes to late night, hangovers, and No-Calorie Sundays, pizza has been, and always will be, my best friend. And while the numerous times I have woken up hugging an empty pizza box may not be my proudest moments, they are proof of my dedication to this most wondrous food. Long hair, don’t care.
Sure, I love a good Domino’s deep dish almost as much as my roommate, but unlike the Dude, I can’t handle the subsequent stomachache, night sweats, and waking up the next day looking puffier than post-breakdown Amanda Bynes. I just can’t.
I happened to be talking to a friend last week about this love-hate relationship with pizza, when she told me I should try cauliflower pizza crust. Interesting. As you may know, a number of variations on the cauliflower crust theme have been scattered across Pinterest, the blogosphere, and fitness magazines (which stress me out) over the past year. A few of the recipes looked shockingly good, but I was more than a little skeptical. Pizza is magical, and as much as I appreciate healthy alternatives, using cauliflower as the base seemed wrong on too many levels.
However, when I stumbled across a recipe for “The Best Cauliflower Crust Pizza” accompanied by glowing reviews, my domestic curiosity got the better of me. So, despite being fashionably late to the cauliflower pizza party, I set out to make “The Best Cauliflower Crust Pizza. EVER.”
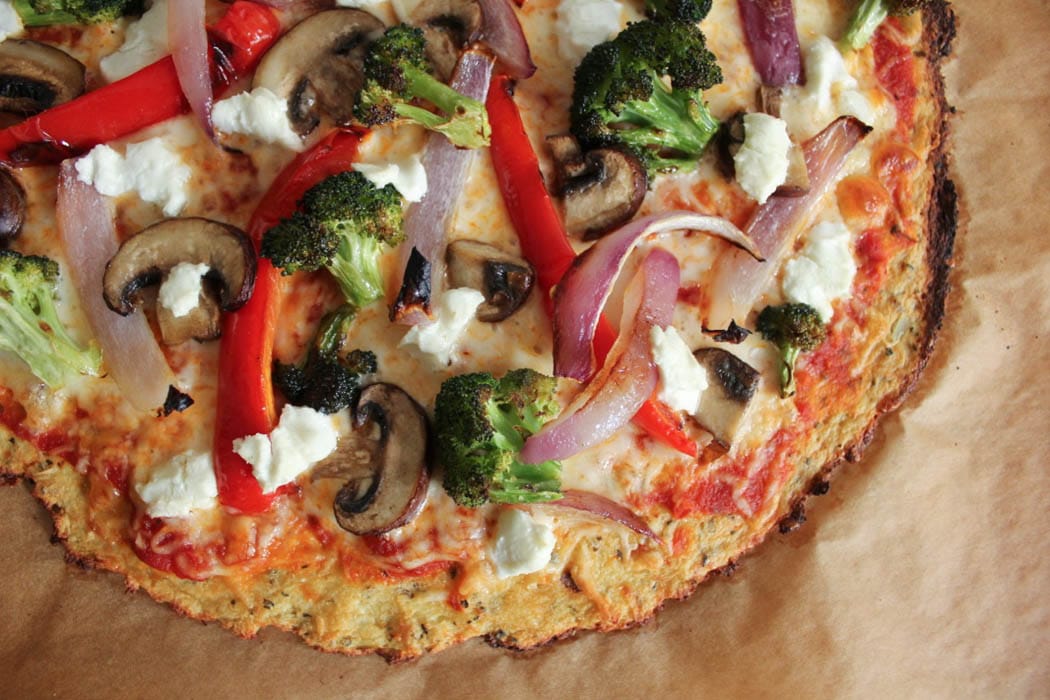
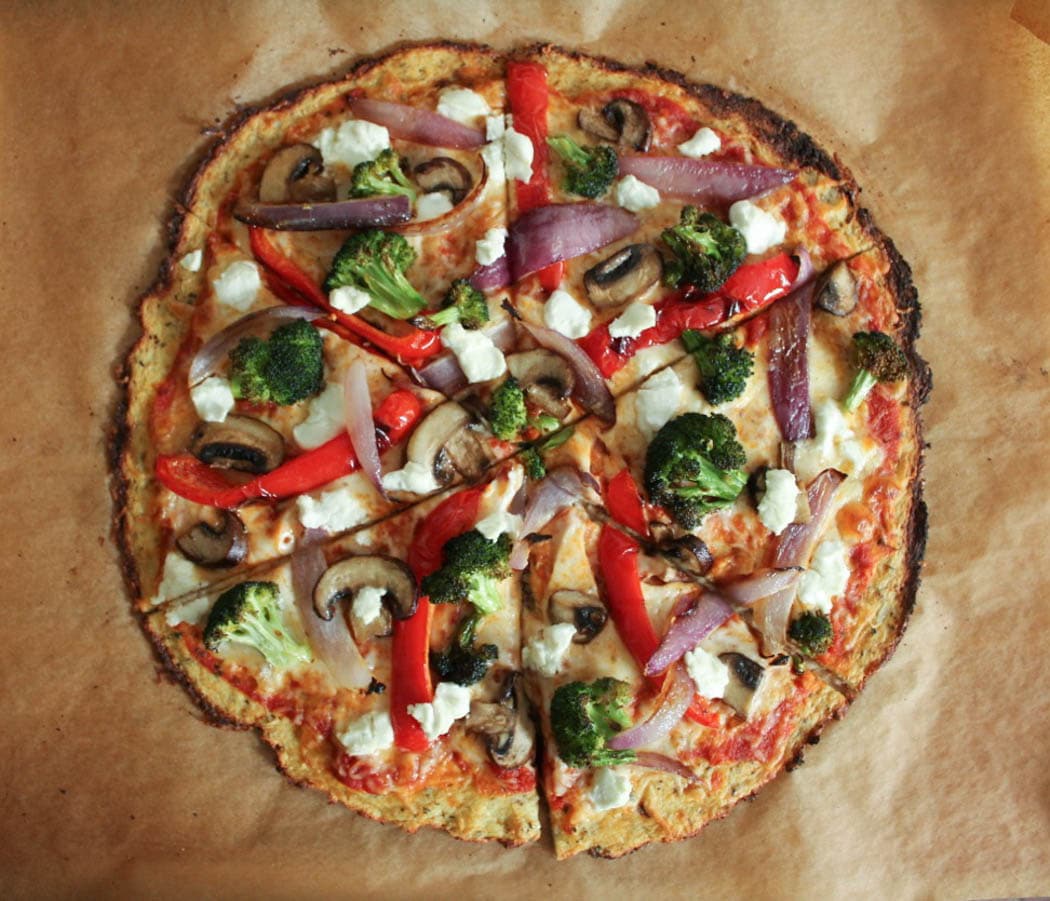
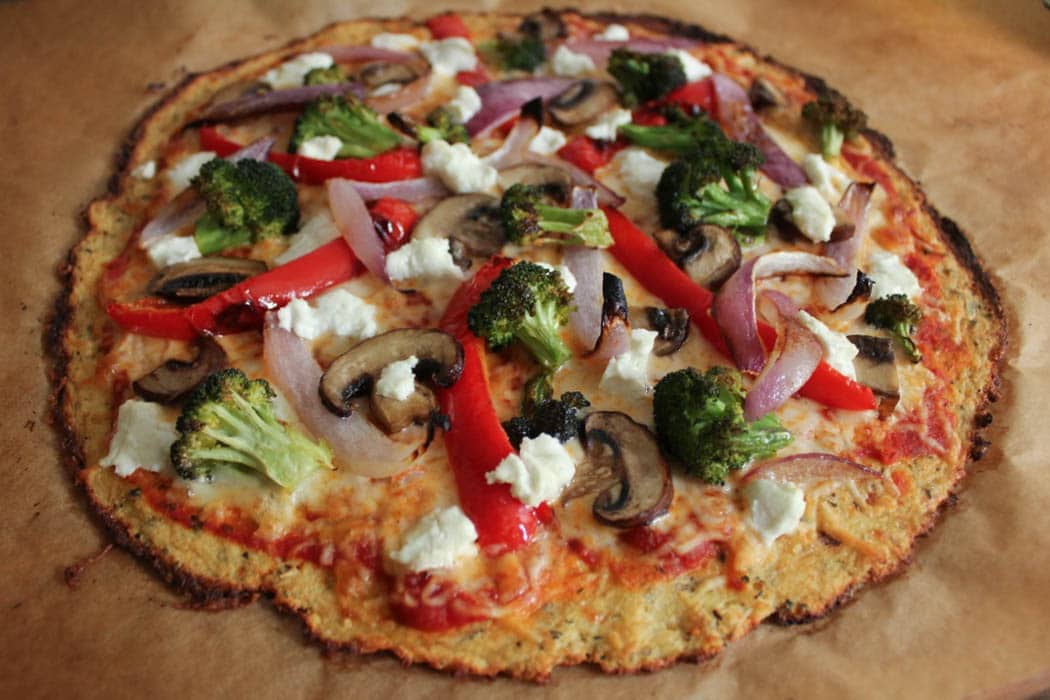
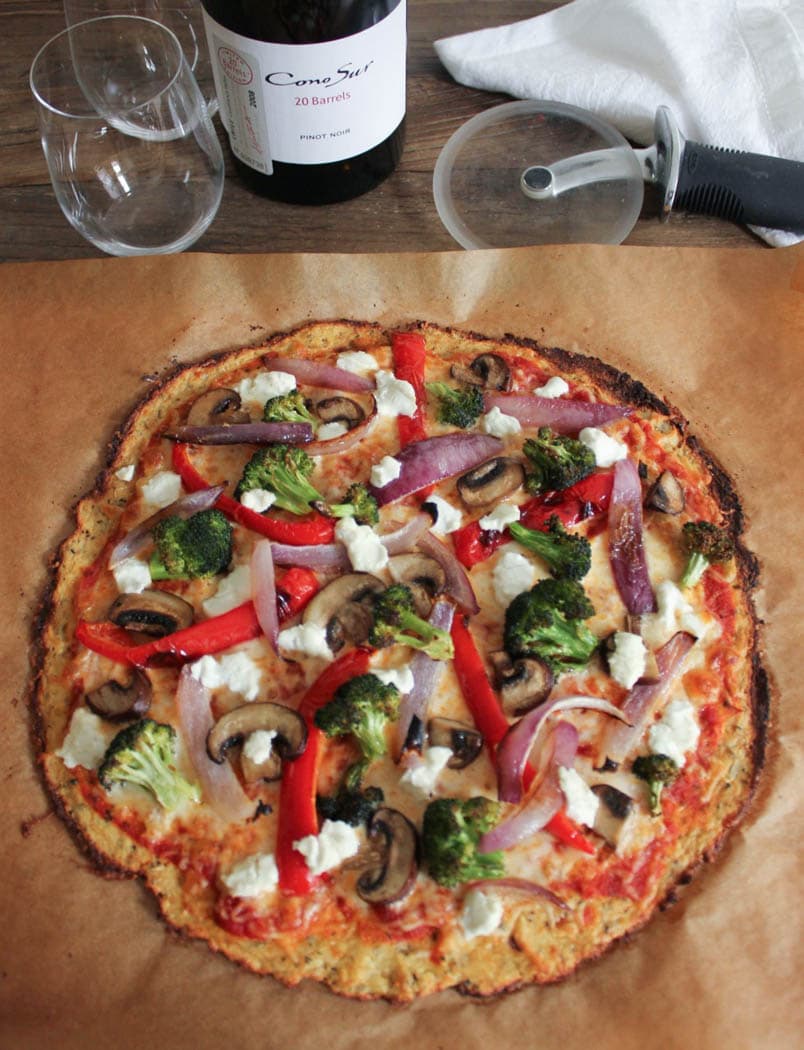
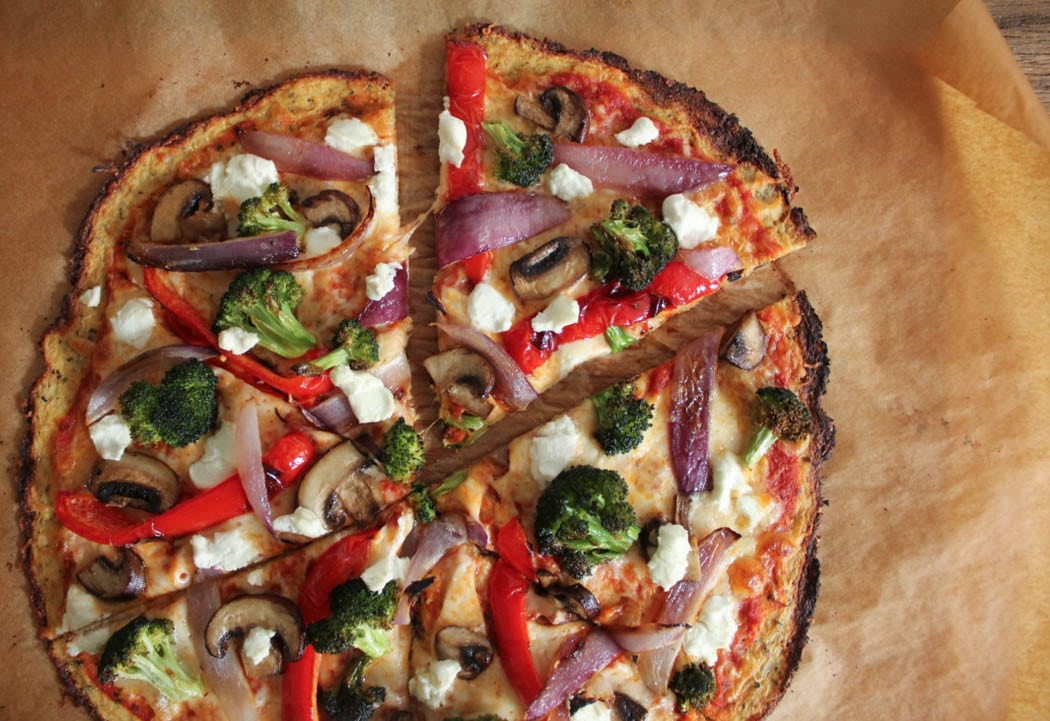
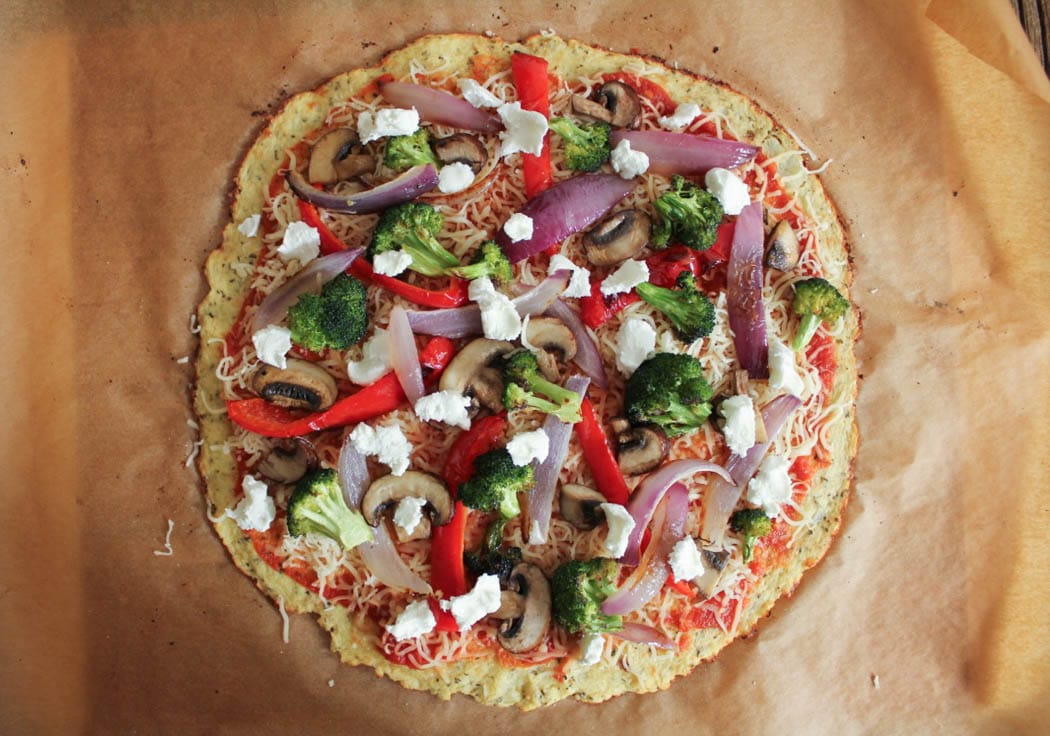
It wasn’t exactly a walk in the park, but a couple heads of cauliflower later, I finally ended up with one seriously badass pizza. I proudly present: Cauliflower Crust Pizza with Roasted Vegetables and Goat Cheese.
How To Make Cauliflower Pizza Crust
Let’s talk cauliflower crust, people. First, please don’t hyperventilate when you see the length of the recipe’s directions. You can 100% do this. To make the dough, you simply:
- Pulse the cauliflower in a food processor/blender.
- Microwave the resulting “cauliflower sand,” and wring the moisture out of it.
- Mix in cheese, dried herbs, and an egg.
- Roll it out, and BOOM, you’re done.
(Personally, I find the hardest part is actually wringing out the moisture, but that may be an upper body strength issue.)
Cooking Instructions for Cauliflower Pizza
As far as cooking time goes, once you make your dough, you’ll only need 20 minutes, tops. The cauliflower pizza crust gets pre-baked for 8-10 minutes, which turns it a nice golden-brown and crisps the edges. Then you simply spread your pizza with your favorite sauce, add mozzarella and toppings, and pop it back in the oven for another 5 minutes. Quick and painless.
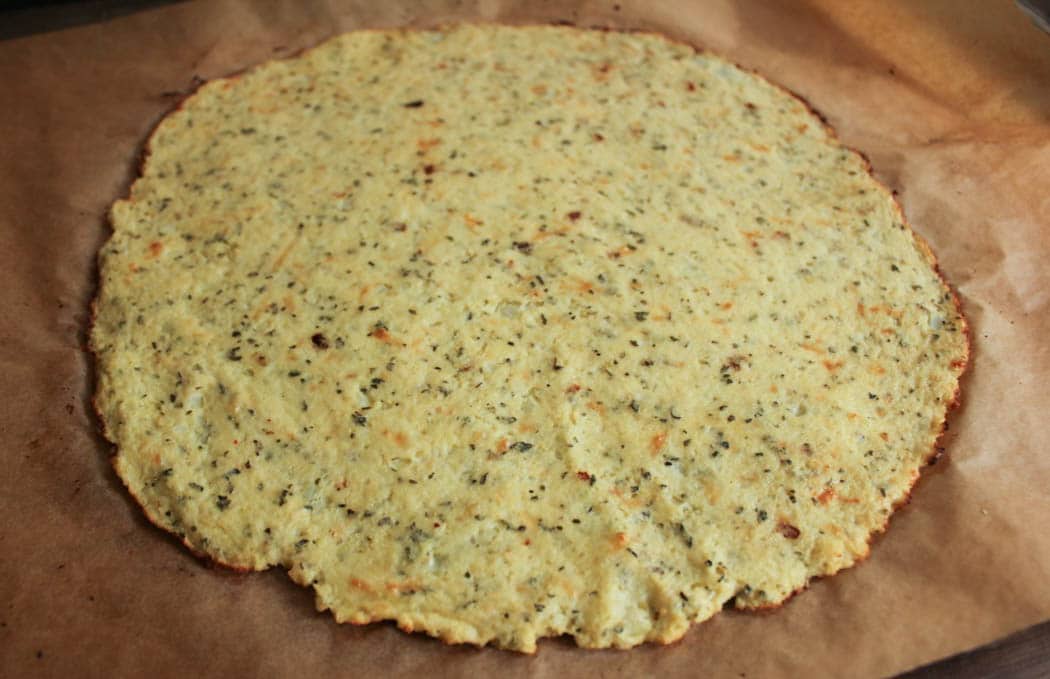
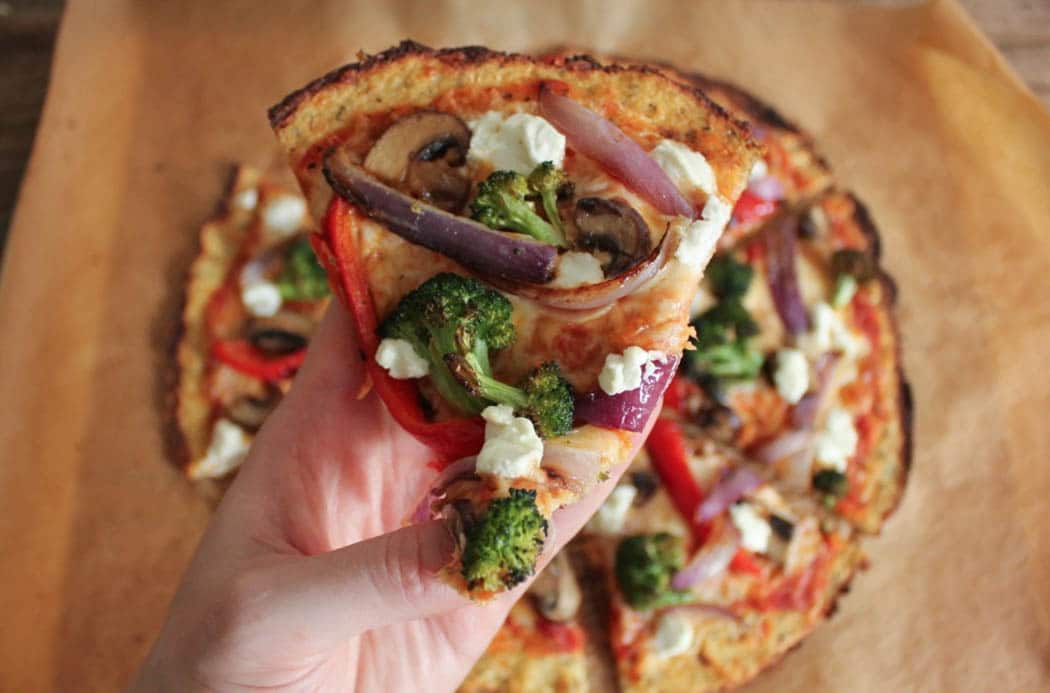
If you’re not a huge cauliflower fan, please don’t write this recipe off just yet. Oddly enough, the crust doesn’t taste like cauliflower at all. In fact, thanks to a winning combination of Parmesan, mozzarella and herbs, it tastes sort of like a cheesy flatbread, which is awesome. Sure, it’s slightly chewier than traditional pizza dough, but it’s also intensely flavorful, and if you let it cool for a couple minutes before slicing it, I promise you’ll be able to pick it up easily with your hands.
 Cauliflower Pizza Toppings
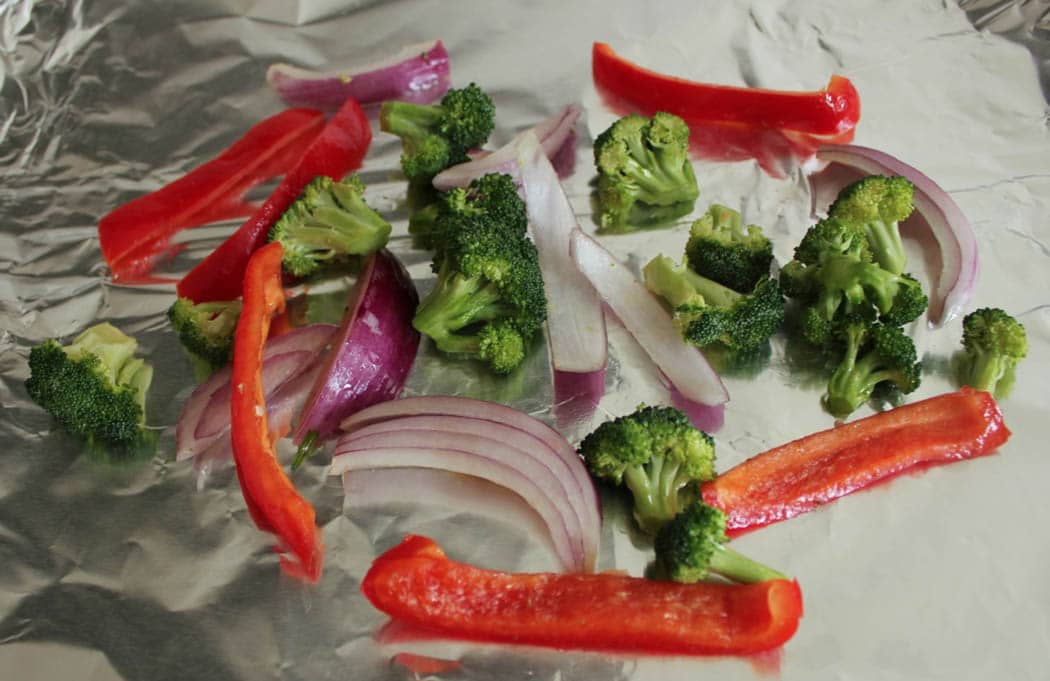
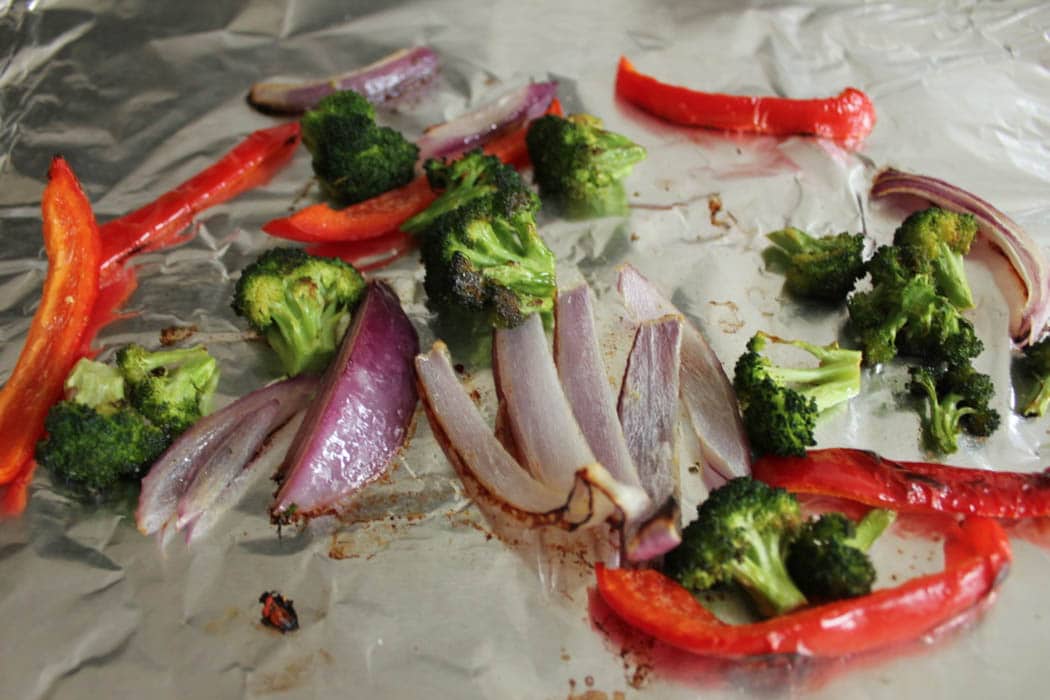
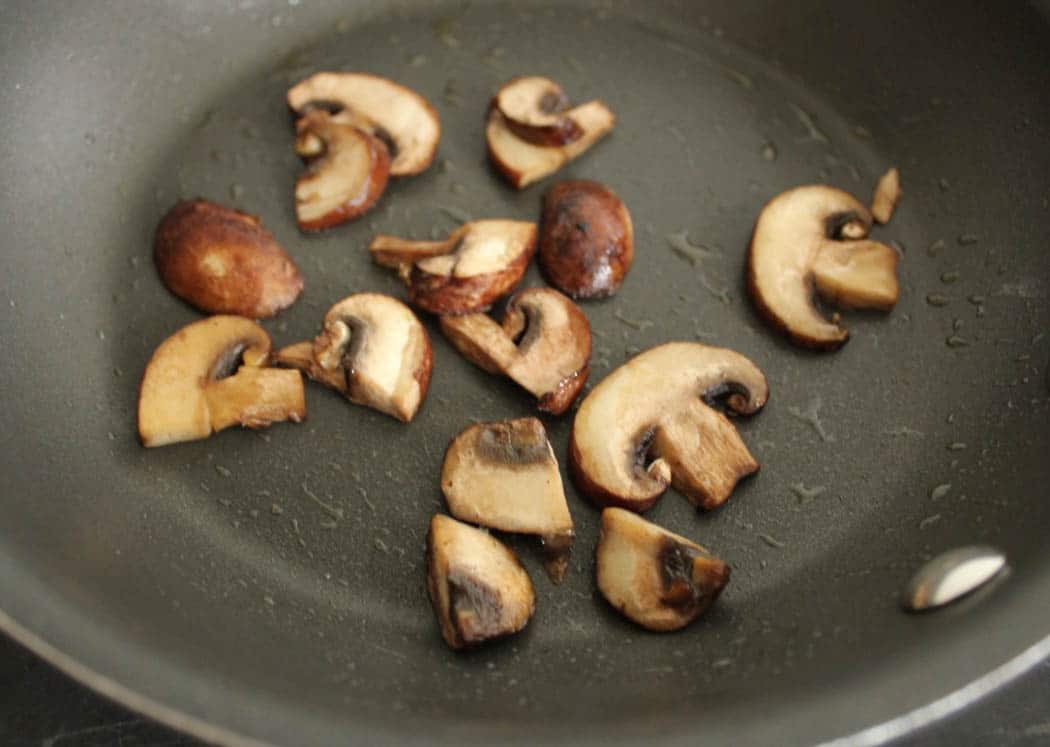
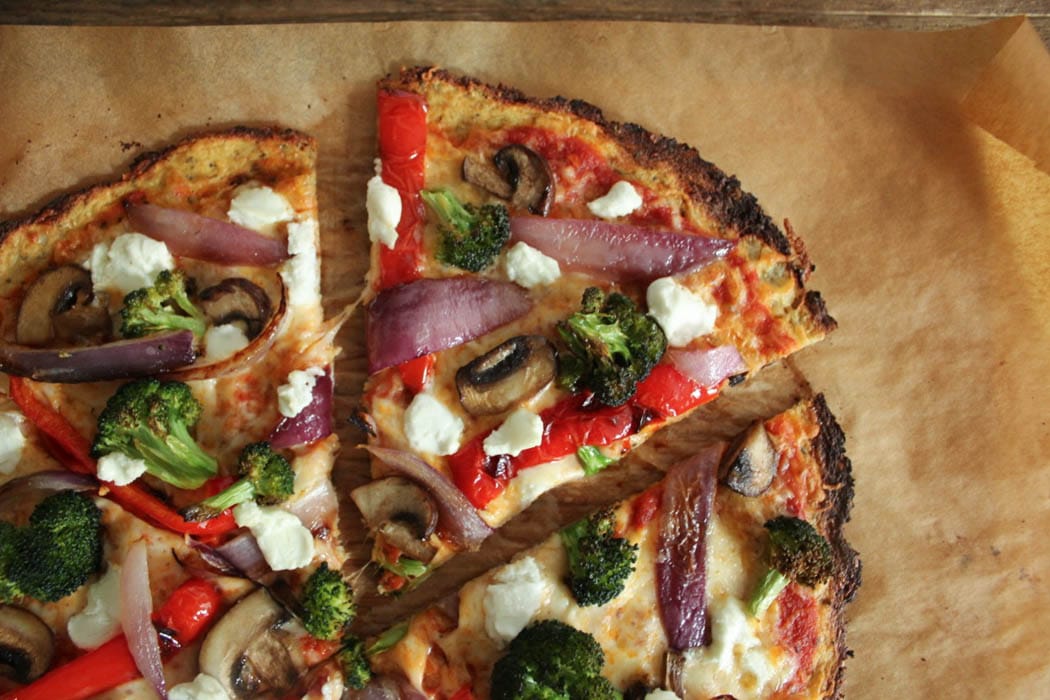
In the spirit of maximizing the nutritional capacity of this lightened up pizza, I topped it with a fancy mix of roasted broccoli, bell peppers, and red onions, along with some sautéed mushrooms and creamy goat cheese for good measure. I was psyched about the flavors of the fresh vegetables and the textural variety they gave this bad boy, but feel free to accessorize your pie according to your personal style. If the lack of meat scares you, I recommend throwing on some turkey sausage or a couple slices of prosciutto. Honestly, dudes, even if you make a meat-lover’s version of this pizza, you’re still infinity times better off than crushing its mainstream equivalent. Fact.
I really like the idea of you all working this cauliflower pizza into your repertoire, friends. Think about how well it would go over at a Sex and the City Night, a “make your own pizza” party, or as a guilt-free appetizer at your next dinner party. Moneymaker. And Dude Dieters, you should definitely adopt the cauliflower pizza trend, stat. Unfortunately, I ate this before I could get the Dude’s opinion, but I’m 99% sure he would have shed excitement tears over this creation. You probably will too.
Blogger’s Note: Many a blogger have claimed that their cauliflower pizza was the best pizza they had ever eaten. Unless they have never actually tried pizza before, this is a lie. Nothing is better than real pizza. NOTHING. That said, if you’re having a craving for some ‘za, and you’d rather not wake up looking like an Oompa-Loompa tomorrow, this delicious, vegetable-laden pie will definitely hit the spot. You’re welcome.
Cauliflower Pizza Crust with Roasted Vegetables and Goat Cheese: (Serves 2)
For the cauliflower crust:
1 small head of cauliflower, florets removed
¼ cup grated Parmesan cheese
¼ cup shredded part-skim mozzarella cheese
½ teaspoon dried oregano
½ teaspoon dried basil
½ teaspoon garlic powder
¼ teaspoon crushed red pepper
¼ teaspoon salt
1 egg
For the topping:
3 teaspoons olive oil, divided
½ small red bell pepper, sliced
1/3 cup broccoli florets
¼ small red onion, sliced
1/3 cup baby bella mushrooms, sliced
¼ cup pizza sauce of your choice (you could also use pesto!)
½ cup shredded part-skim mozzarella cheese
1 ounce goat cheese, crumbled
Preparing your Cauliflower Pizza Crust with Roasted Vegetables and Goat Cheese:
-Place a pizza stone or baking sheet in your oven, and pre-heat the oven to 450 degrees. On a pizza peel or cutting board, place a piece of parchment sprayed with non-stick cooking oil.
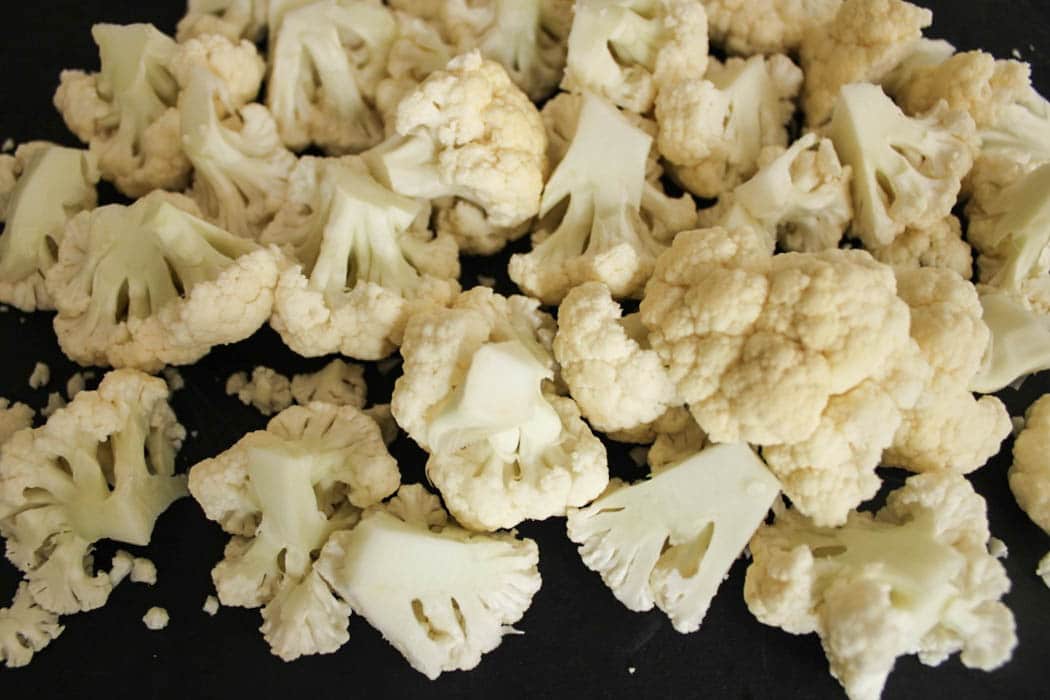
-Remove the florets from your head of cauliflower.
-Place your vegetables in the oven along with your dough.
-Bake for 8-10 minutes until the dough is golden brown. Carefully remove it from the oven.
-Bake for another 5-7 minutes until the cheese is melted and bubbling slightly. Remove your pizza from the oven and let cool for 2-3 minutes before slicing to make sure that the crust stays intact. Get weird with your guilt-free pizza, people! Vegetables are so hot right now.

Ingredients
For the cauliflower crust:
- 1 small head of cauliflower florets removed
- ¼ cup grated Parmesan cheese
- ¼ cup shredded part-skim mozzarella cheese
- ½ teaspoon dried oregano
- ½ teaspoon dried basil
- ½ teaspoon garlic powder
- ¼ teaspoon crushed red pepper
- ¼ teaspoon salt
- 1 egg
For the topping:
- 3 teaspoons olive oil divided
- ½ small red bell pepper sliced
- 1/3 cup broccoli florets
- ¼ small red onion sliced
- 1/3 cup baby bella mushrooms sliced
- ¼ cup pizza sauce of your choice you could also use pesto!
- ½ cup shredded part-skim mozzarella cheese
- 1 ounce goat cheese crumbled
Instructions
- Place a pizza stone or baking sheet in your oven and pre-heat the oven to 450 degrees. On a pizza peel or cutting board, place a piece of parchment sprayed with non-stick cooking oil.
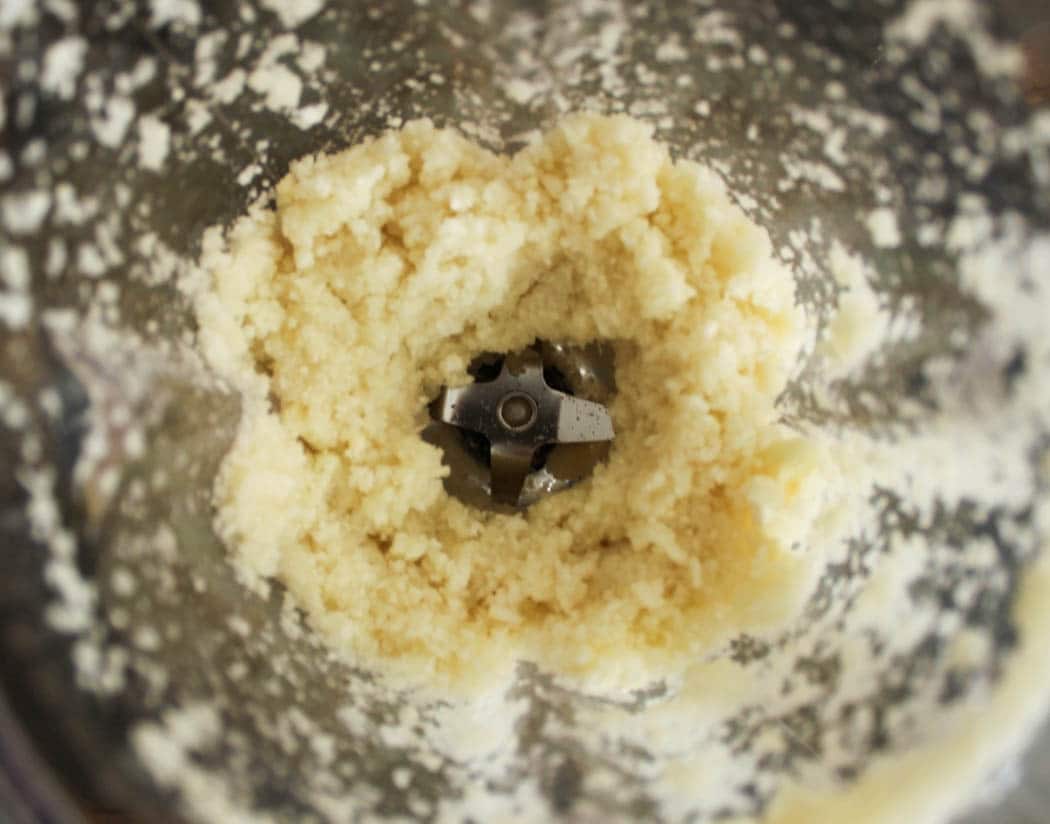
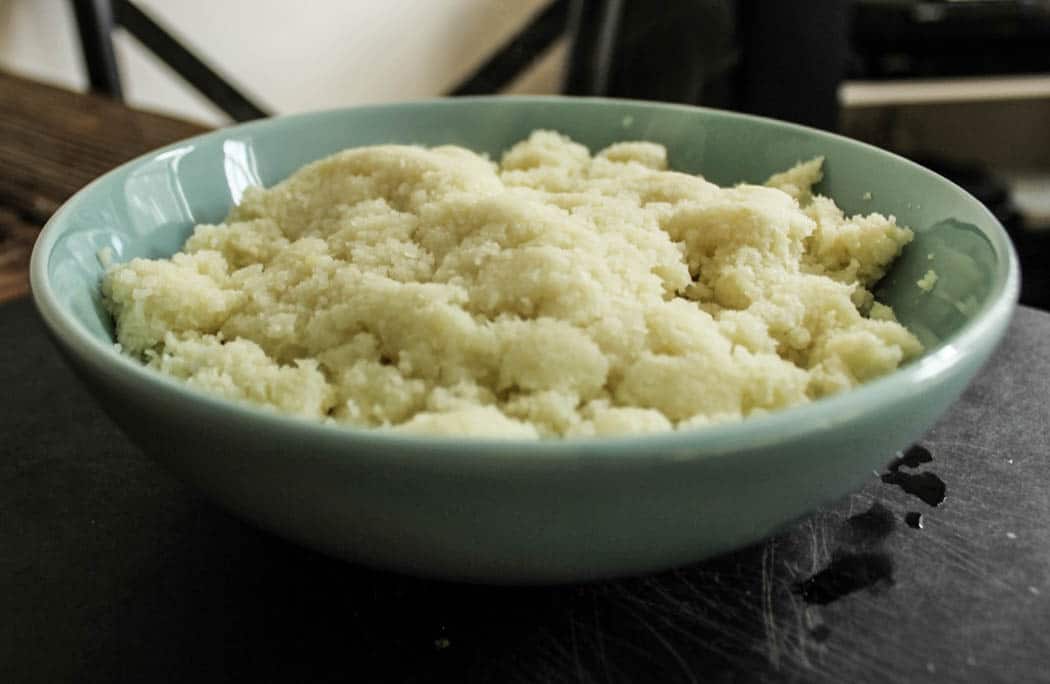
- Remove the florets from your head of cauliflower. Place the florets in a food processor or blender and pulse until the cauliflower has the texture of sand. You should have about 2½-3 cups of cauliflower sand.
- Transfer the cauliflower sand to a microwave safe bowl and microwave, covered (not with aluminum foil, duh), for 4 minutes.
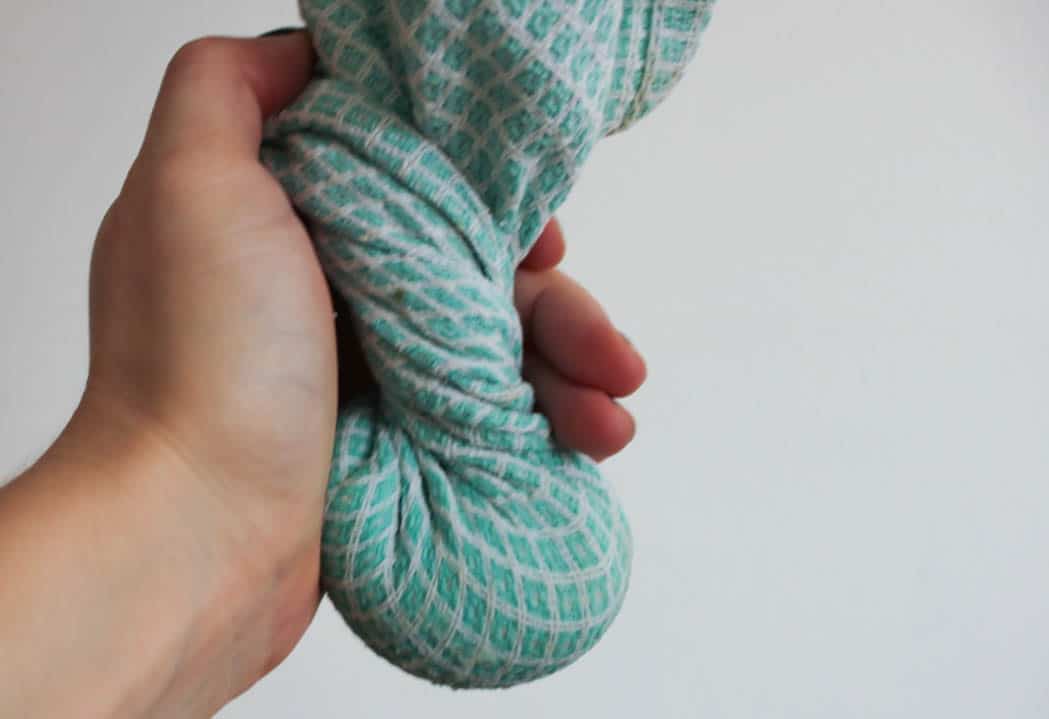
- Let your cauliflower cool completely. (Seriously, it needs to be cool or you will burn the shit out of your hands during the next step. Trust.) When cool, place the cauliflower in a towel and wring it tightly. You want to remove as much moisture from the cauliflower as humanly possible. I recommend doing this in two batches to get your cauliflower really dry.
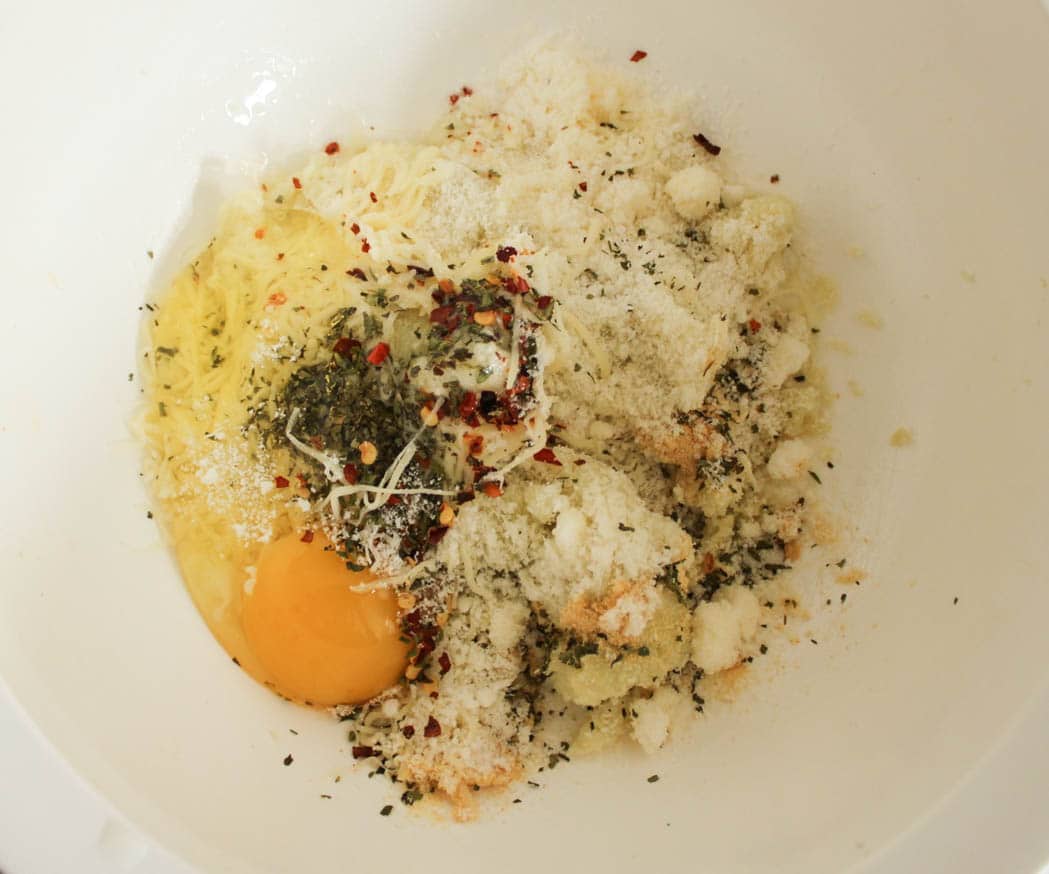
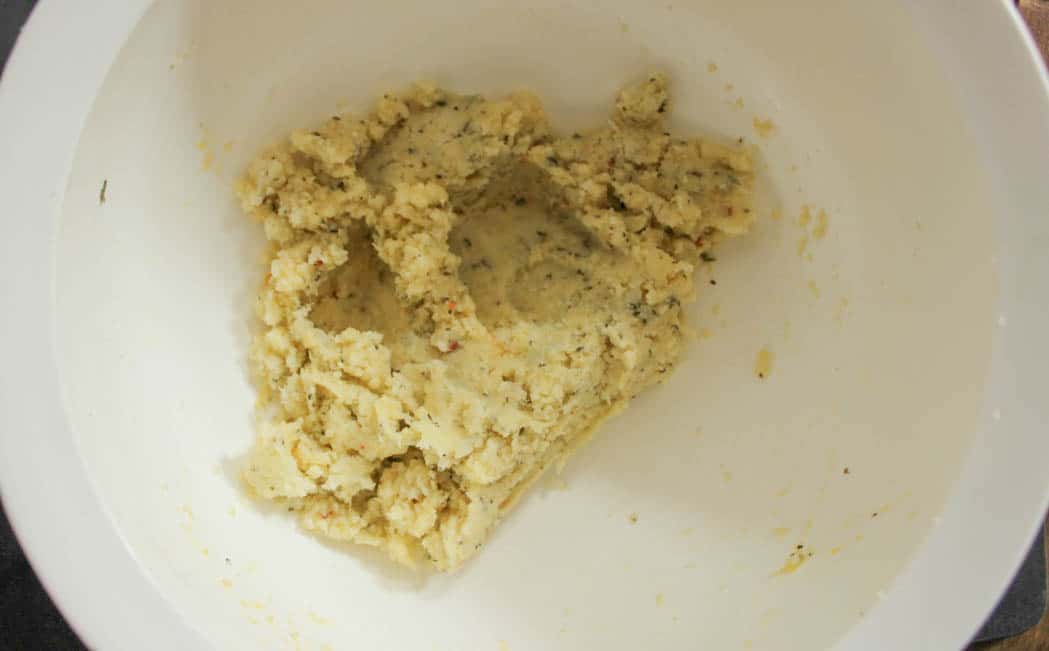
- Place the cauliflower pulp in a mixing bowl and add the cheeses, spices, and the egg. Mix until well combined. Using your hands is your best bet, friends.
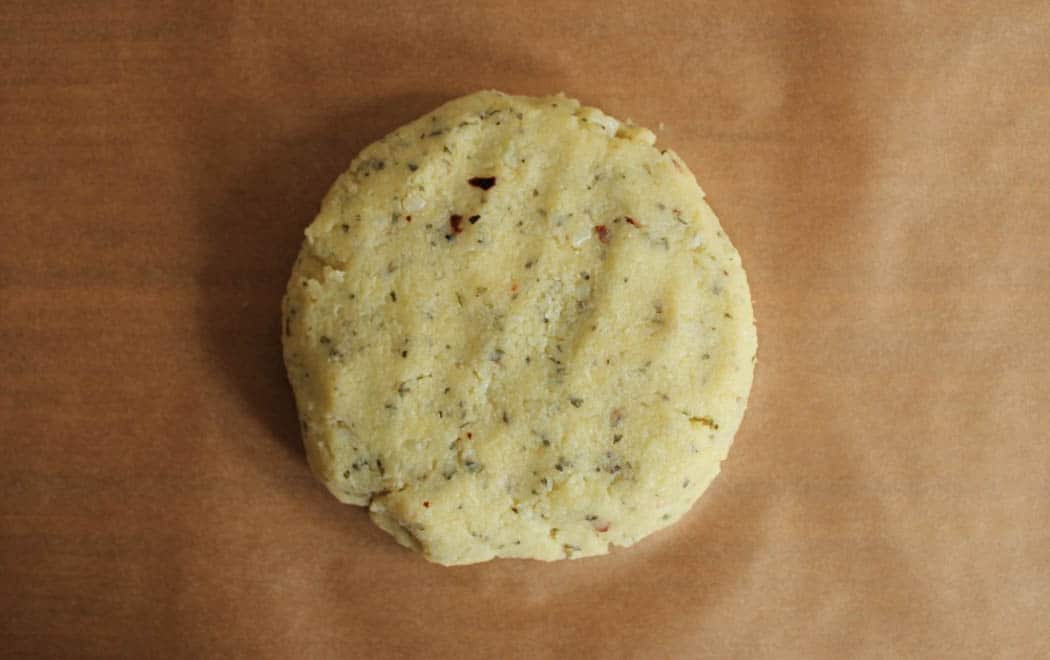
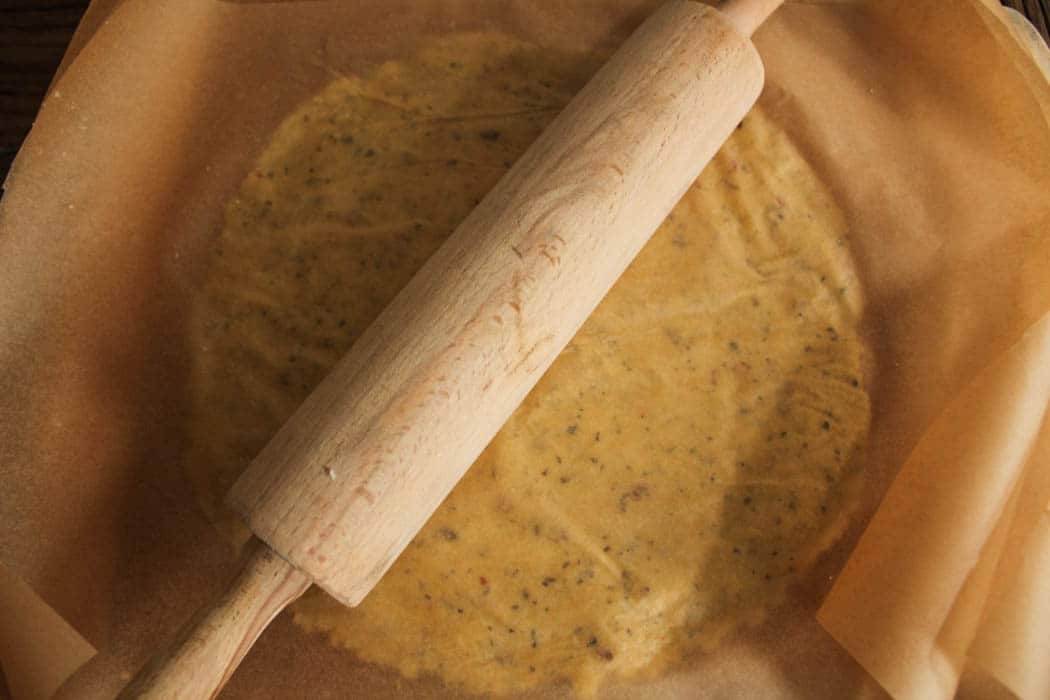
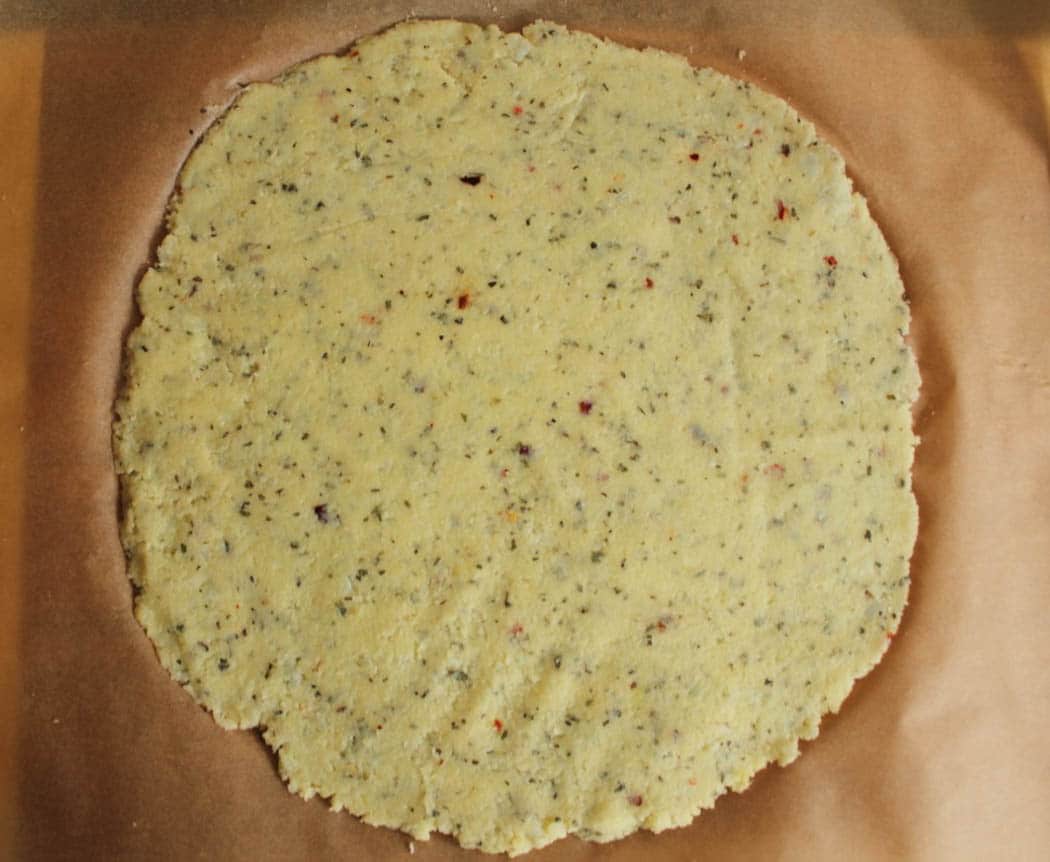
- Form the dough into a ball and place it on the parchment-lined pizza peel or cutting board. Place a second piece of sprayed parchment on top of the dough ball and roll it out into a circle about 1/6-inch in thickness. Remove the second sheet of parchment and briefly set your pizza aside while you prepare your vegetables.
- Place the broccoli, bell peppers and onions on a foil lined baking sheet. Drizzle with 2 tablespoons olive oil and sprinkle with salt.
- Carefully transfer your dough to the hot pizza stone/baking sheet. Place your vegetables in the oven along with your dough. Bake for 8-10 minutes until the dough is golden brown. Carefully remove it from the oven along with your vegetables.
- While your dough is baking, quickly sauté the mushrooms in 1 teaspoon olive oil for 3-4 minutes until tender. Briefly set aside.
- Spread the sauce over the pizza dough and sprinkle with an even layer of mozzarella. Top with the roasted vegetables, sautéed mushrooms and crumbled goat cheese.
- Return the pizza to the oven for another 5-7 minutes until the cheese is melted and bubbling slightly.
- Let your pizza cool for 2-3 minutes before slicing to make sure that the crust stays intact. Get weird with your guilt-free pizza. Vegetables are so hot right now.
Big Girls, Small Kitchen: Roasted Cauliflower and Bulgur Salad
Jeanette’s Healthy Living: Roasted Garlic Cauliflower and Potatoes
Feed Me Phoebe: Pan-Roasted Cauliflower
Devour: Cauliflower and Broccoli Mac and Cheese for Thanksgiving
Blue Apron Blog: Cauliflower “Mac ‘n Cheese”
Napa Farmhouse 1885: Roasted Cauliflower and Broccoli with Cranberries and Garlic Breadcrumbs
Red or Green: Cauliflower, Leek and Pepper Frittata
Virtually Homemade: Roasted Cauliflower with Bacon and Parmesan Cheese
Taste With The Eyes: Saffron Cauliflower à la Ottolenghi
The Sensitive Epicure: Cauliflower Flat Bread (Gluten-Free)
Weelicious: Cheddar Cauliflower
Cooking With Elise: Roasted Cauliflower with Cheese Fondue
FN Dish: Comforting Cauliflower Recipes
Shop this post
Never miss a post!
Get new recipes and lifestyle tips delivered straight to your inbox.

 Cauliflower Pizza Toppings
My husband and I have made this numerous times and we love it. We are not vegetarian or gluten free and still love this recipe! Definitely need the cheese cloth for the cauliflower to extract all the moisture.
Wow! I’ve tried cauliflower pizza crust before but it seemed too un-pizza-crusty. I had tried baking the moisture out of the “dough”. Can’t wait to try wringing the cauliflower tonight! Hope my bf likes it!
Hope the wringing trick worked and the pizza was a success for you and the bf!!
Well my bf loved loved loved it but it was not as “awesome” as I wanted it to be. I substituted aluminum foil sprinkled with rice flour and it still stuck. Also, I wrung the cauliflower precooking and it retained too much moisture. It would make an awesome casserole dish pizza. Even though it was not perfect it was really good! My bf would eat again. I’ll try again next month!
Oh and the smell of the cauliflower on the towels I used to wring it was awful the next morning……have your washer ready to wash right away!
Can I freeze the crust for future use?
I’ve tried this recipe 2x and even with using parchment paper, the base sticks as if glued down. I greased the paper. Now what?
Hmmm. I think you could go a more traditional route and dust the parchment with cornmeal or a little flour (although the latter would negate the gluten-free aspect of this–I’m not sure if that’s important to you!). OR you could try baking it on a Silpat! That would definitely eliminate sticking, although I’m not sure if it would crisp up quite the same way. Hope this helps!
It was an excellent pizza, after we made the following changes. No eggs. We use chia powder about 3 table spoon and garbenzo and fava Red Mill flour. It has a good amount of protein and excellent binder. I used 1/2 cup. So even if you have some moisture left it turn out to be crispy. Also, after I made Cauliflour dough I freeze it for 10 minutes so it is easy to roll. We top with roasted bell pepper, olive, onion and top with spinach and soft Diegrosseso mozzarella cheese slices (from Costco). I use 400 temperature 15 minutes on the lowest rack and 5 minutes on broil on the top most rack after topping. Hope this helps.
Thanks a lot for the receipe and all the comments.
Tried this recipe out last night. Very good. Would recommend that you make sure the pizza base is well baked before topping. For me in my oven, this was longer than 8 minutes. Also, I cheated on the topping coz I had to get rid of some leftover salami plus lazy.
I’d like to serve this for someone who is vegan,(no eggs or dairy)? What can i substitute? Thank you very much!
So sorry, but I don’t think this particular recipe is easy to adapt for vegans–there’s so much cheese involved that it’s kind of impossible to find an adequate substitution. However, if you’re interested in a vegan cauliflower crust, this recipe looks interesting: http://detoxinista.com/2014/02/vegan-cauliflower-pizza-crust/
hi, might sound odd, but use custard powder…
it was invented because the mans wife couldnt eat eggs, just add water to the custard powder – i dont know the exact ratio of powder to water, but has the same binding properties as egg
I also made this a couple of weeks ago exactly as you have here and it was AWESOME. A bit of work involved, yes, but the roasted veggies and goat cheese on top were so delish. Will definitely make it again 🙂
So, what’s up with the waxed paper? I just kinda assumed it would act like parchment so I put it in the oven with on the cookie sheet. A total loss, I cannot extract the pizza from the wax paper. Totally bummed. Calling Pizza Hut!!
Ugh, I can’t believe you made it all the way to the oven step and then had botched ‘za. Sorrrry. Unfortunately, wax paper can’t stand up to heat, and the wax melts onto anything it’s in contact with (they should probs put that disclaimer on the package.) Hope Pizza Hut saved the day.
I made do. It smelled too good to not to eat. The crust was ono, almost like quiche. I couldn’t salvage all of the bottom of the crust, and I did end up eating some paper, but worth it. Even with the botchi oven and the 95 degree weather I would do it all over again.
I do think you should let people know that they need to make a double batch. They’ll want plenty of left overs.
Hahaha. Respect. A little paper never hurt anyone! Glad you made it work.
Hi. I was sharing this recipe with some people at work, and one of the guys is on a low carb diet. But, he was curious if he could use frozen cauliflower instead of fresh? Does it make any kind of difference? Thanks!!
I haven’t actually tried this with frozen cauliflower, but I’m pretty sure it would work! In fact, you shouldn’t even have to cook the frozen cauliflower. Leave it in the fridge to thaw overnight, then pulse it in the blender/food process, squeeze out all the moisture, and follow the rest of the recipe as described above!
Awesome!!! I will pass it along. Thank you!!
I don’t use a microwave either….have the alternative methods been posted yet?
Hi Carolyn- You can either steam the cauliflower (if you have a steamer), or put it in a pan over medium-low heat with the lid on for about 5 minutes!
Was excited to see this linked off mfp in an article for low carb comfort foods. I was a little bummed that the nutritional info isn’t available to support the claim, so I used this amazing recipe importer on the MFP website. I wish I know how to make it public to share it with you, but I took a screen shot. It defaulted it to 2 servings; 349 cals per serving and only 17 net carbs for 1/2 a pizza! I’ve attached the screen shot 🙂
This looks amazing!! I definitely need to take some pointers from here.. never thought to use a food processor I sat grating mine.. like a fool!!
I’ve written a blog post on my version of a cauliflower pizza, it’s no where near to this standard but I’m still learning, it’d be great if anybody wanted to check it out 🙂
http://thatthoughtfulgirl.blogspot.co.uk/2014/09/pizza-with-twist.html
I hope you will find a way to monetize this! I would TOTALLY buy this cauliflower pizza “dough” in the grocery store in order to skip all the up front prep steps. Would be a phenomenal business – and I would be your #1 customer! So get on that, will ya?? 🙂
but how many carbs does cauliflower pizza crust have.
I’m not exactly sure the exact number of carbs in cauliflower pizza crust, but they’re definitely lower than traditional, flour-based crust!
do you bake the crust (and the pizza) with the parchment, or not?
Yep! You bake both the crust and the pizza on a parchment-lined baking sheet.
I’m a bit late to the show, but…
I just made this (well, I put my own toppings on, but followed your directions for the crust).
The taste is EXCELLENT, but I’m not finding the crust as cohesive as a bread crust would be. I ate with a knife and fork, which is NOT my pizza style.
Is this what you found as well, or did I do something wrong?
Hi Kate- So, here’s the deal with the crust. It’s definitely not quite as cohesive as a standard pizza crust, but you should be able to pick it up with your hands pretty easily. There are a couple possibilities why it may not have held together quite as well as it should. First, it may have been slightly too thick (the crust needs to be rolled pretty thinly to crisp up in the oven). Second, and more likely, there was still a little bit of moisture left in the cauliflower. You have to squeeze the cauliflower rice to DEATH and make sure its as dry as possible before mixing in the cheeses. (This is a pain, and it requires a significant amount of elbow grease, but it’s necessary.) Hope this helps!!! xo
I don’t have a microwave…lol!…and wonder if using your original cauli-rice recipe would work?!
This should definitely work using the cauli rice recipe! Just make sure you don’t burn the rice in the pan, and that you squeeze all of the moisture out before you make the “dough.”
Will try it this weekend 🙂 I wonder if it stores well. I try to prepare my meals for the week on the weekend. During the week I’m at the mercy of my crockpot. Any experience with a few days in fridge or (halleluja) freezing for later?
Jessy, I haven’t tried refrigerating/freezing the dough, but I think it will work beautifully! If you’re storing it for more than a couple days, I would freeze it, and you shouldn’t have any problem. Just make sure to really wring out the cauliflower so that excess water doesn’t get icy in the freezer!
Thanks for the recipe! I just made this for a late lunch and, to make it sans cheese, used a few tablespoons of nutritional yeast and some chia seeds instead. Haven’t made the cheese version so I can’t fairly compare (and it definitely doesn’t compare to legit pizza), but still was pretty damn good.
Rachel, I love the idea of nutritional yeast and chia seeds. Not gonna lie, I’ve been a little scared to experiment with nutritional yeast, but I’m psyched to hear that a cheese-free version works well! So glad it was a success!
The first time I tried anything with nutritional yeast, I was at a vegan dinner party and was surprised by how much I liked this foreign thing that I’d never heard of. Then I sort of forgot about it until I tossed it on some popcorn a few weeks ago. One thing led to another, and here we are, making cheeseless pizza crust. That’s a long-winded way of telling you to be brave and take the plunge. It’s weird and takes your palate a second or two, but then that healthy little bugger becomes a nice replacement for butter and cheese (not all the time, of course!).
Inspired to buy some yesterday by your bravery! Wish me luck…
Thanks for the detailed recipe but why use the microwave? If you’re going to go through the trouble to make something healthy why zap it in a microwave? We don’t even own one.
Totally understand your sentiments, Angela. I am also a fan of steaming or sautéing the cauliflower! I chose to include the microwave method as it’s the simplest/most convenient, and I felt that many folks may not have a steamer. I’ll add a note in the recipe of alternate methods, so that people can choose the method that appeals to them most.
Thanks for taking the time to respond. I hope I didn’t sound rude. I’ve just seen so many recipes that use the microwave lately and it’s a little annoying. I just prefer to avoid it. I’m glad you feel the same way. I made this pizza crust the other day and I cooked all my cauliflower in a frying pan with the top on. It worked great! Thanks again for the recipe. I am so excited to add this to my cookbook. 🙂
Are you scared of the plastic or the microwaves? Because the microwaves simply make the food molecules jump around and get hot. (just like heating with a pan or steaming does).
What do you think the microwave will do to the food?
Microwaves change the molecular structure of food. Plus, the act of running them produces radiation in your home. I know there are many sources of radiation but I prefer to avoid the ones I can. Microwaves are completely unnecessary and I’ve been living without one for many years.
No offence but this is woefully ignorant of the science. I suggest you read a year 9 text book on the workings of the electromagnetic spectrum, (specifically what is ionising radiation) and google how microwaves work. Source your readings from university and government websites that reference their sources. Ignore sudo-science websites like natural news etc etc. Facts will set you free. (and you’ll get to heat your food in record time!). Happy learning, and enjoy your new microwave fear free.
What does putting it in the microwave do?… Can you use any alternative heating devices?.
Hi Marco, microwaving the cauliflower “rice” is simply the fastest and easiest way to cook it. However, you could also sauté it in a non-stick frying pan or use a steamer with a basket that has very small holes. Whatever method you use, make sure to wring out all of the excess moisture after cooking!
Does it have to be parmesan and mozzarella? Can I just use colby cheese instead?
You could definitely use colby cheese! Since the parmesan is less of a melting cheese and more of a binder, your crust may end up being a little less sturdy if you use all colby, but it should still work.
Why not just run the califlower through a juicer? Wouldn’t that work better? The pulp is like sand. And already dry…
I love that idea. Unfortunately, I don’t have a juicer, so I had to go the old-fashioned pulse and squeeze route, but your way sounds much more pleasant!
Ok…good! Less work means I’m more inclined to try this!
Please report back!
I’ve also seen Cauliflower Crust around the internet. I like that there are multiple ways to enjoy gluten items other than the usual corn or rice. My boyfriend is HUGE on pizza so maybe I’ll give this a go and see what he thinks. But you’re right, the real thing is spectacular. 😉
-Aya
http://healthy-appetite.blogspot.de/
DEFINITELY try it. If nothing else, it’s a pretty delicious experiment, especially if you love pizza as much as i do. Love your blog, by the way! xo